In this article, we're going to learn how to "Integrate A Rich Text Editor" in your react.Js project using TinyMCE.
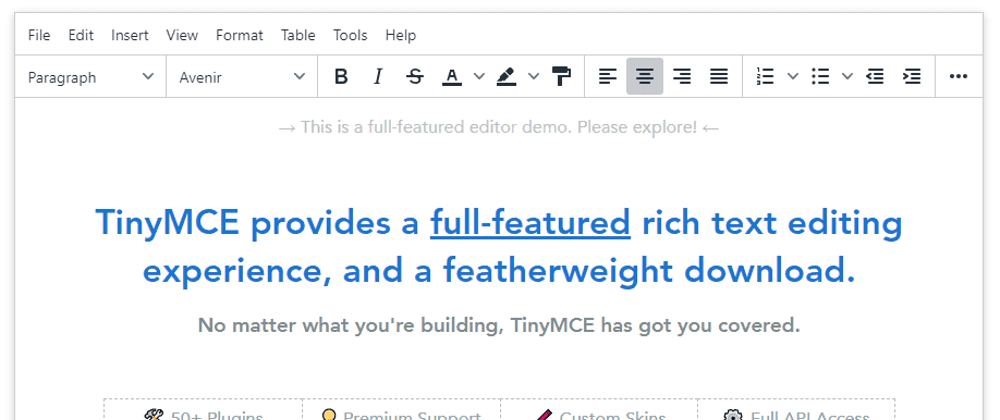
Before we begin, let's do a quick summary of what a "Rich Text Editor" also commonly known as (WYSIWYG) what-you-see-is-what-you-get means, just in case you found this article out of curiosity.
In simple terms: A Rich Text Editor is an interface for editing rich text within browsers, which could also include images, links, audio and videos in a what-you-see-is-what-you-get fashion. These editors aim to reduce the effort for users trying to express their formatting directly as valid HTML markup.
These editors (There're quite a number of them) can particularly be useful if you're creating your very own blog website 😎.
Now that we have a clear understanding of what a Rich Text Editor is, let's get right into it.
Prerequisites
- Node.js (and npm)
- Access to tinymce.min.js on either : Tinycloud or TinyMCE Self-hosted (what we'll be using) See Installing TinyMCE for details on self-hosting TinyMCE.
- Basic React Knowledge. Don't worry if you're a beginner, you can do this !.
Procedures | Processes
- If you don't already have React installed on your machine, open your command line or command prompt and install the Create React App package.
$ npm install -g create-react-app
- Create a new React project and "name it anything you want". I named mine WYSIWYG
$ create-react-app WYSIWYG
- Change into the newly-created directory.
$ cd WYSIWYG
- Install the TinyMCE-react package and save it to your package.json with --save.
$ npm install --save @tinymce/tinymce-react
- Open the project using any editor of choice. I use VScode
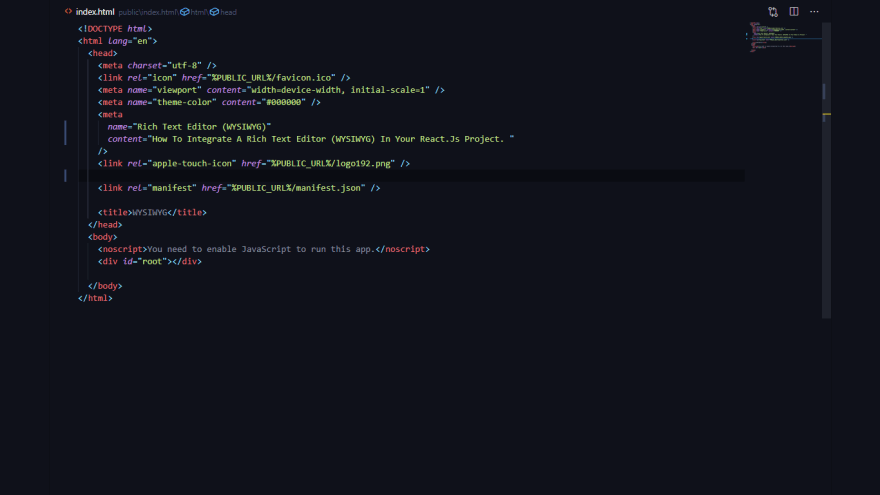
- Inside the Public folder, let's open the Index.html file and paste this code at the head section ( some paste at the bottom... your choice 😎)
<script src="/path/to/tinymce.min.js"></script>
Now that we have a project all set up for our Rich Text Editor, let's start with the INTEGRATION so we can all be happy.
Navigate to your "src" directory and :
- Create a "components" folder inside the "src" directory
- Inside the "components" folder, create a "RichText.js" file.

- After you've done that, paste the code below into your RichText.js file
import React from 'react';
import { Editor } from '@tinymce/tinymce-react';

class RichText extends React.Component {
  handleEditorChange = (e) => {
    console.log(
      'Content was updated:',
      e.target.getContent()
    );
  }

  render() {
    return (
      <Editor
        initialValue="<p>Wow ! ... It Works !!!</p>"
        init={{
          height: 500,
          menubar: false,
          plugins: [
            'advlist autolink lists link image',
            'charmap print preview anchor help',
            'searchreplace visualblocks code',
            'insertdatetime media table paste wordcount'
          ],
          toolbar:
            'undo redo | formatselect | bold italic | \
            alignleft aligncenter alignright | \
            bullist numlist outdent indent | help'
        }}
        onChange={this.handleEditorChange}
      />
    );
  }
}

export default RichText;
Pasting the above code will create a react component containing the TinyMCE editor.
- Now let's navigate to our App.js folder and import the RichText component so we can have it rendered in the browser.
import React from 'react';
import RichText from './component/RichText'
function App() {
  return (
    <div className="App">
      <RichText />
    </div>
  );
}

export default App;
- To run the app lets open the terminal and run this code (make sure you've checked into your project directory in the terminal. e.g cd pathToProject ) :
$ npm run start
Now you should see the application up and running in the browser (usually localhost:3000)
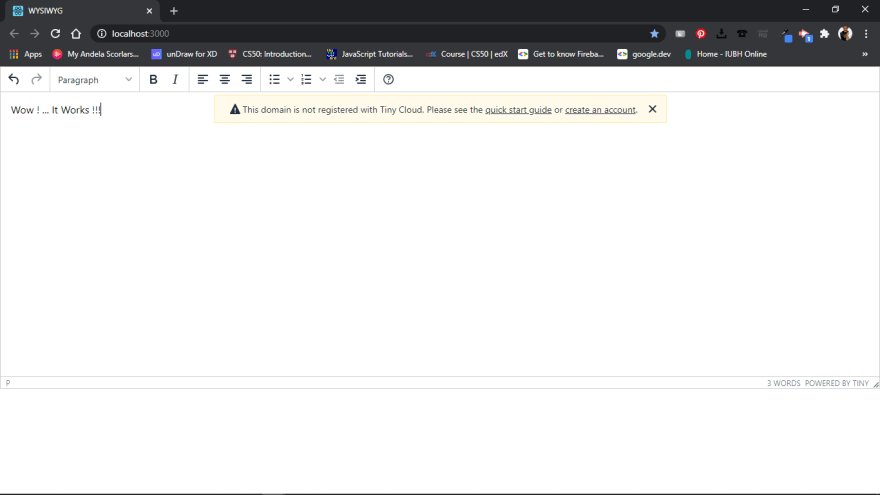
That was easy ? wasn't it ??
But we're not done just yet !. Did you notice a warning that pops up in the editor when you try to type anything ( Warning: This domain is not registered with Tiny Cloud ) ??. That's because we've not created an API key.
Don't worry We've completed the easy part, now for the easier part, all that's left is to get rid of that scary warning, but... How do we do that ? well... It's easy 😎.
Let's Follow These Steps
- To get an API Key Let's go to the tinycloud page and create an account.
- fill in the basic Infos they'll ask (Nothing Personal)
- They'll send a confirmation email, so we'd have to open our mail and confirm by clicking the link provide (this redirects to a page where we'll do basic setups)
- On the redirect page, we'll add our domain (if we have one e.g ...mycooldomain.com), localhost is by default and we don't have to explicitly include that.
- Next, we scroll to the bottom of the page and click on Continue to dashboard. This is where we'll see our API KEY
- Copy the API KEY and navigate to the RichText.js file. Inside the
<Editor />component, include the apiKey option in the editor element and paste your TinyMCE API key.
<Editor
  apiKey="your-api-key-goes-here"
  init={{ /* your other settings */ }}
/>
Save the project and watch the magic happen. Voila! We don't have errors anymore !!!.
Check out the working code on my Git repository. Please feel free to fork the project.
There's a lot that can be done with TinyMCE, to explore some more goodies there is, go check out the TinyMCE docs. Also, it can be integrated with other technologies too, such as Angular, Vue etc.
TinyMCE can be customised to include a lot more plugins and Event bindings than we currently have in our project.
PRO TIPS
- If you wish to add some spacing (margins or padding) outside the
<Editor />, just wrap a<div></div>around it and style accordingly. - To make this project more fun, create a git Repo and push all you've learnt in this post.
- Teach someone else 😎
- Don't forget to give a thumbs Up and leave comments (please, I love feedbacks)
- last but not least, This is my first ever blog post so, don't hesitate to point out errors to help me improve.
Thanks to everyone that took the time out to read this blog and once again, be sure to check out the working code on my Git repository, if you so wish.
Please, feel free to fork and star the project. I wish you all the best.


