Purpose Of Project
In this post, we'll cover the setup for creating our Svelte environment in Vite with Tailwind CSS and DaisyUI integration.
Getting Started
To setup a basic Svelte app, you can run the following command:
npm init vite my-app -- --template svelte
...then go into our project folder on the terminal and install the following dependencies:
cd my-app

# Install the dependencies...

npm install
...then start Rollup.
# Npm Command
npm run dev
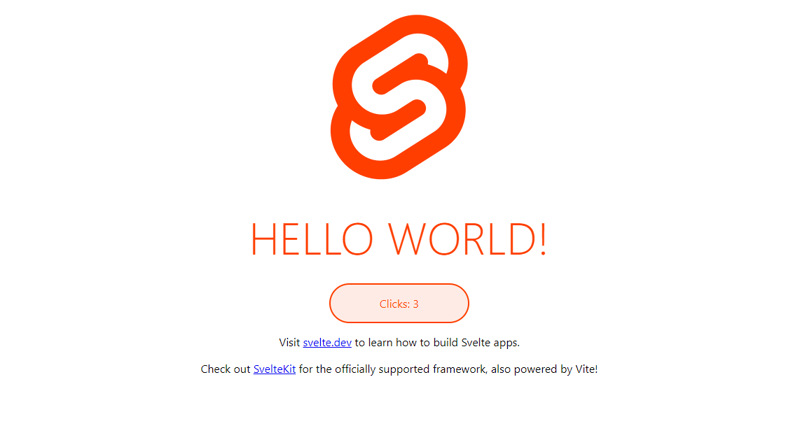
Navigate to localhost:8080 and you should see your app running. Edit a component file in src, save it, and reload the page to see your changes.
You should now see this in the browser!
Adding Tailwind CSS + DaisyUI Setup
So now we have to install Tailwind CSS and DaisyUI peer-dependencies via npm using the following command:
npm install -D tailwindcss postcss autoprefixer daisyui
We will now create a tailwind configuration file called tailwind.config.cjs in the base directory.
Add the following code to your tailwind.config.cjs file:
module.exports = {
    content: ["./src/**/*.{html,js,svelte}"],  theme: {
    extend: {},
  },
  plugins: [
    require("daisyui")
  ],
}
Next, we'll have to create a PostCSS configuration file (postcss.config.cjs) in our base directory.
Add the following code to your postcss.config.cjs file:
module.exports = {
    plugins: {
      tailwindcss: {},
      autoprefixer: {},
    }
  }
Injecting Tailwind Directives into our CSS
It's best to inject them inside your App.svelte file so they're accessible on every page.
<style global lang="postcss">
  @tailwind base;
  @tailwind components;
  @tailwind utilities;
</style>
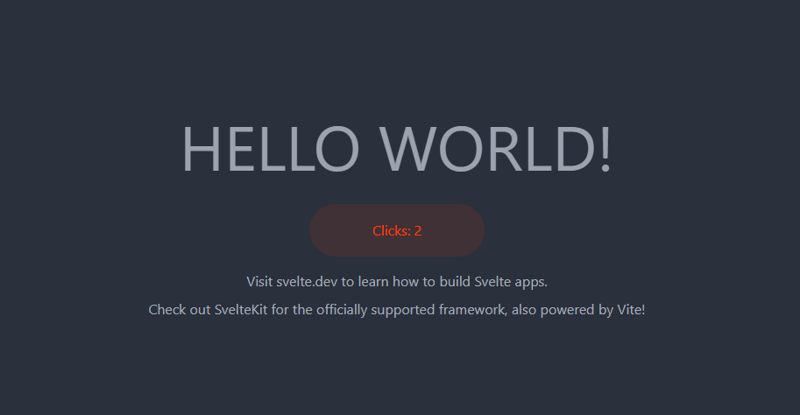
Now that we have Tailwind in our environment, let’s edit our website header to see how tailwind works with Svelte.
You should now see this:
Conclusion
Now if you haven't used DaisyUI or TailWind components before then take a look at an example Svelte project I created with both DaisyUI and Tailwind integration.
You can view it right here!
Go here to view my completed template for this project on Github!
License: 📝
This project is under the MIT License (MIT). See the LICENSE for more information.
Contributions
Contributions are always welcome...
🔹 Fork the repository
🔹 Improve current program by
🔹 improving functionality
🔹 adding a new feature
🔹 bug fixes
🔹 Push your work and Create a Pull Request


