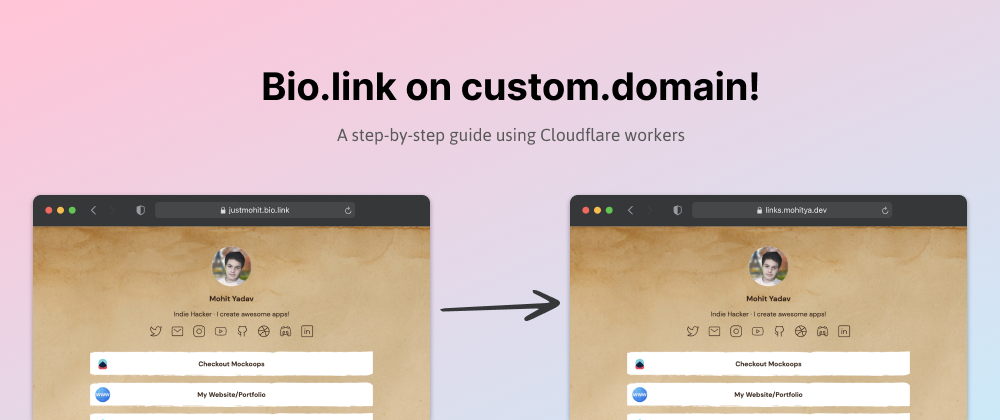
Have you ever wanted to white-label a website, like display it on your own domain? Or have you wanted to remove a watermark from a website that asks for premium (for edu. purposes ofc.)?
Well, this guide contains everything you need to know to proxy a website/webpage on your custom domain/subdomain! Let's just get into it! 😃
🔥 The Backstory (reading optional)
A few months ago, I got my own domain from Google, and have been putting up things on it for a long time. Though, when it comes to social media, I wanted to show a links-in-bio page, not my personal portfolio page.

I looked into some solutions. Found a few websites like short.io that allow you to shorten links and make them visible on your domain base, but they're paid and provide little room for customization. And the ones that did provide awesome features were mostly paid.
So I was left with no choice but to go with the standard-solution: mainstream websites like bio.link or Linktree[https://linktr.ee]. I got my links up on it, customized it to just how I wanted, and it looked really cool.
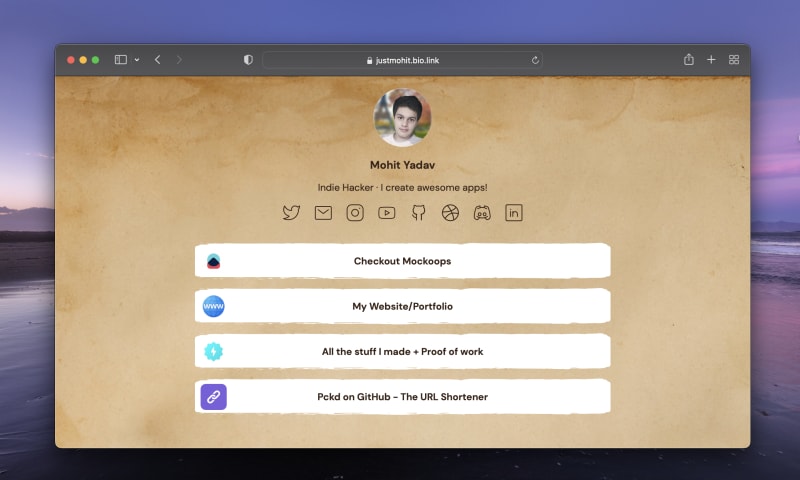
But since I consider myself somewhat of a perfectionist (an understatement, sometimes), and like to bring something unique to the table, I thought about a way to serve the bio-link page on my own domain.
⚖️ But why? A few pros and cons
There are a few 👍 pros to hosting a domain! Just to name a few, for me, it was to ability to:
- Makes your link-in-bio page look unique: Unlike pages that are bio.link/username, the custom-domain page looks very professional, just like how your portfolio on
youdomain.devlooks better as compared to3p-domain.vercel.app - Have total control over anything served over the domain: Remove watermarks or modify existing content pretty easily!
Cloudflare Workers' specific pros:
- Analytics - Cloudflare tracks every request through its proxy, so you could have a direct idea about where your domain visits are coming from, and how they're reaching your website.
- Caching (Faster loads) - Cloudflare also caches every request that goes through its DNS proxy, so a slow SPA could easily benefit on subsequent requests from the same user, right out of the box (though it's disabled by default)
- Increased Uptime, even when the source is down: In case the source website goes down for a short time, the content served over the domain would still work flawlessly, given that it was recently cached.
- Load Balancing - You could randomly fetch from 2-3 different sources and get a very basic version of load balancing.
- Bypass account's free limits - For example, if you have 2-3 accounts on Vercel hosting the same exact website, you could easily modify the worker's code to randomly fetch from any one of them. This way, you could evenly distribute the data usage between the accounts and not hit the free-account limit on the source website (though this might be against the fair use policy).
👎 Cons
It's important to note the downsides of this as well
- Might not work on every website - Well-engineered web-apps like Google's auth platform could easily detect if the receiver (in this case, Cloudflare's servers), are the end users of the request. This way, they could prevent kind-of man-in-the-middle attacks. But 99% of the websites won't have problems like these.
- Adds an extra layer - Though this is pretty unnoticeable, since the responses are un-cached, but basically, since all the data goes through a third-party (Cloudflare), the resource per request usage also increases.
- Could get pretty expensive (sometimes): If your usage stats are out of the roof, and you get more than 100k request per day, subsequent users could face errors if you're on the free plan, till the quota gets reset.
But hey, for light usage and very typical use-cases, chances are that these cons won't matter. In fact, with features like caching and simple analytics, the pros would certainly outweigh the cons.
🙋♂️ But what is 'Cloudflare Workers'?
Glad you asked! According to Workers' docs
'Cloudflare Workers' provides a serverless execution environment that allows you to create entirely new applications or augment existing ones without configuring or maintaining infrastructure.
It's basically a way to run serverless functions, just like AWS Lambda or Google Cloud Run, but with a few small differences.
Cost: At the time of writing this article, it has around 100k free requests per day (more than enough, even for very famous webpages).
🚶♀️ A Step-by-Step Guide
This guide assumes you have no/little prior knowledge about Cloudflare and Cloudflare Workers. Though if you're pretty experienced, this guide doesn't compromise on quality over simplicity. 🙃
- Create your Cloudflare account and add a domain (optional)
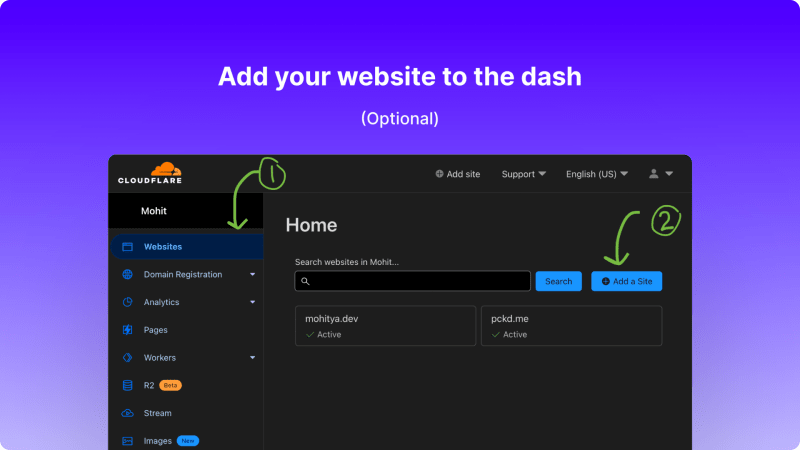
Follow the usual instructions on configuring the domain's nameservers, as illustrated in their 'adding a site' docs!
If you aren't managing your DNS through Cloudflare, point the domain to Cloudflare's servers. Read their docs for more info.
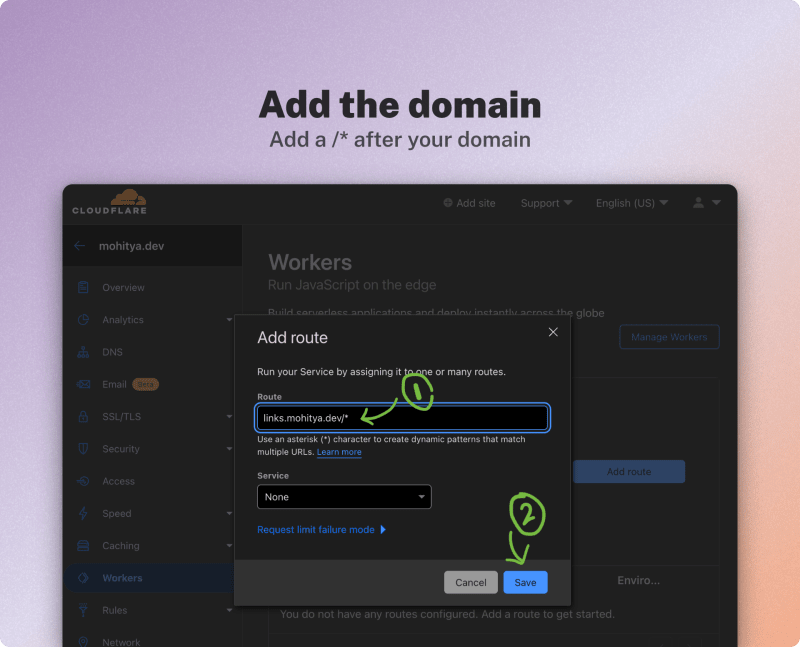
- Add your Cloudflare worker Route
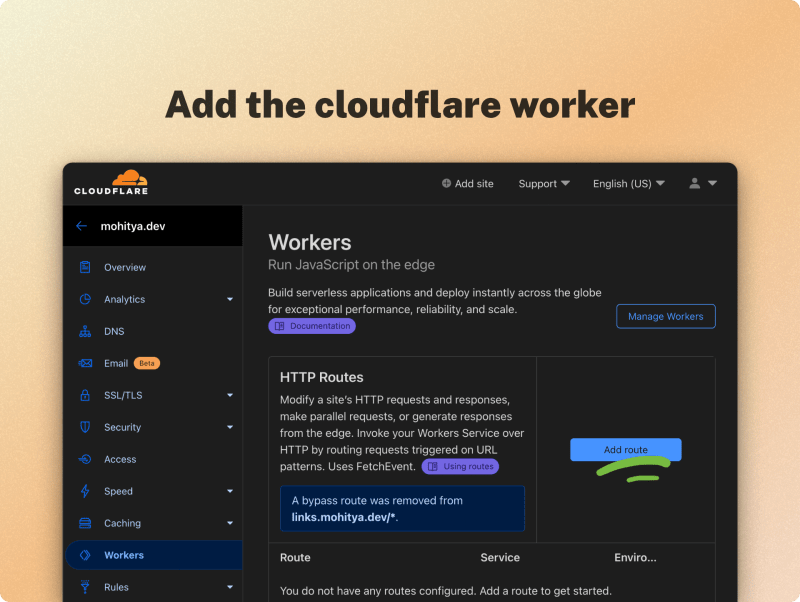
- Add the catch-all domain/sub-domain
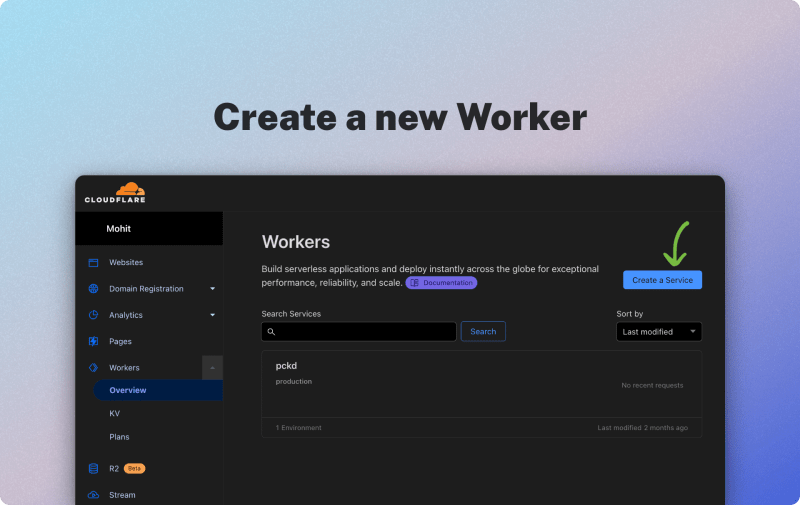
- Click "Manage Workers", and create a new worker Service.
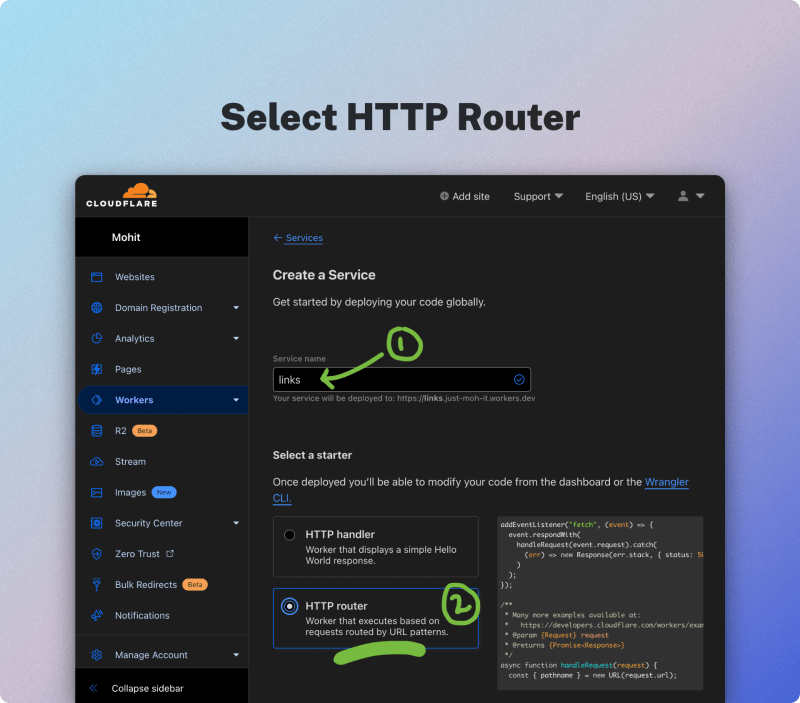
- Select the second option (HTTP Router) when creating the worker, since we don't just want to send a simple response
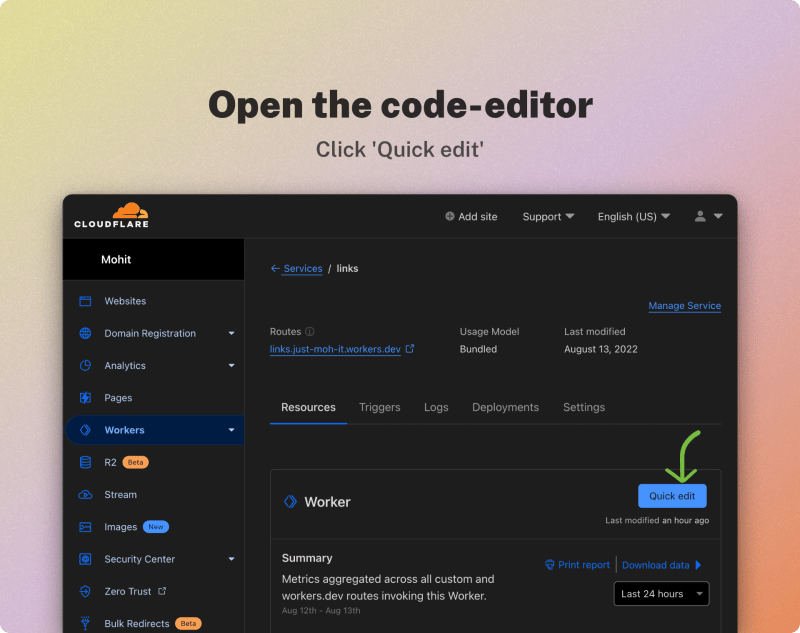
- Open the web code-editor to quickly edit the Cloudflare Worker logic
- Edit/Paste the code, and preview
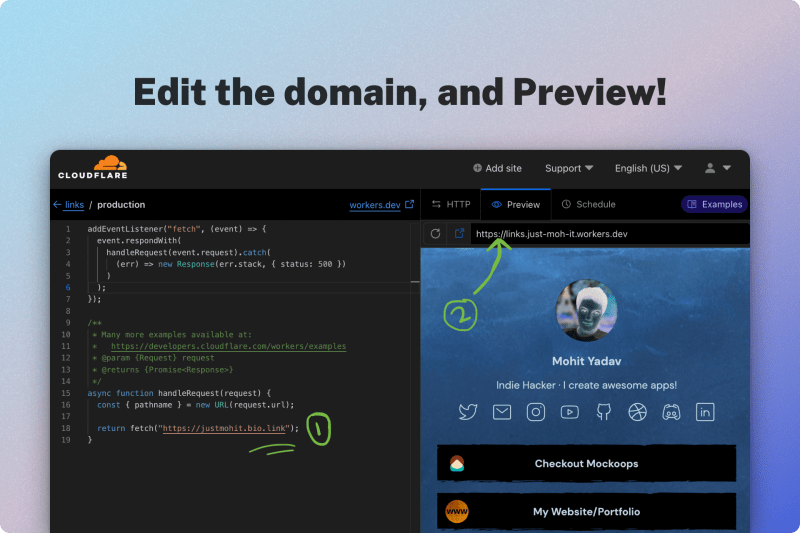
Edit the default code snippet that's already in the editor, or add the following:
addEventListener("fetch", (event) => {
  event.respondWith(
    handleRequest(event.request).catch(
      (err) => new Response(err.stack, { status: 500 })
    )
  );
});

/**
* Many more examples available at:
* https://developers.cloudflare.com/workers/examples
* @param {Request} request
* @returns {Promise<Response>}
*/

async  function handleRequest(request)  {
  return fetch("https://justmohit.bio.link");
}
- Assign the custom domain to your worker
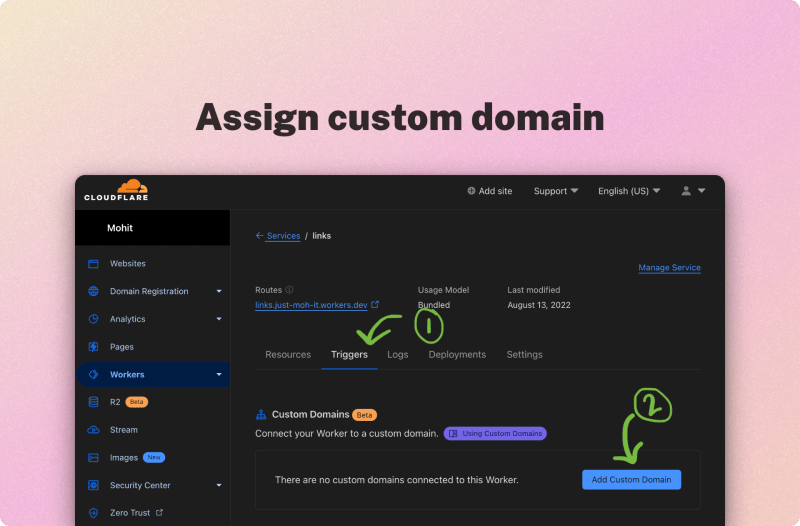
And that's it!
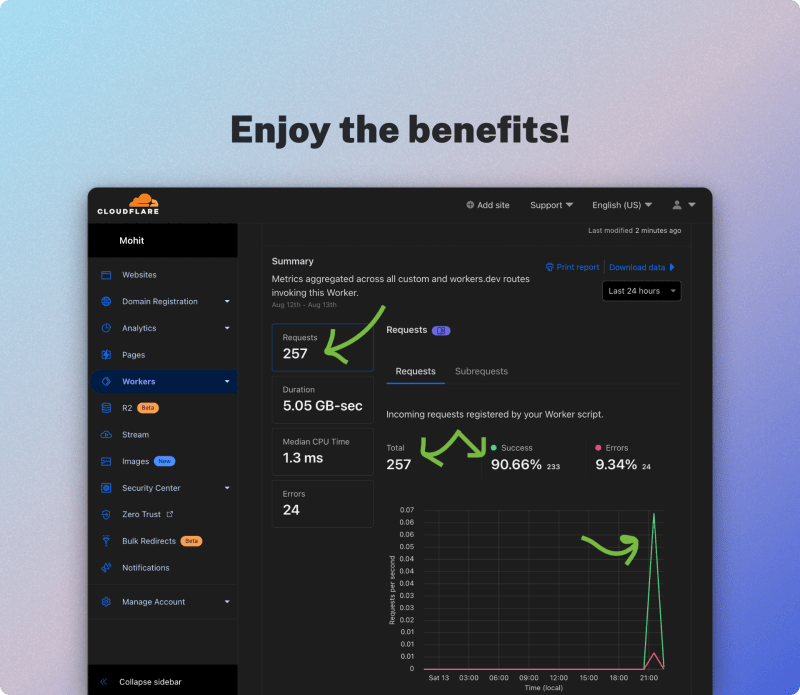
🎉 Reap the Benefits: Analytics, Caching & Custom Domains
We can now access the contents of justmohit.bio.link at links.mohitya.dev. Heck, we even get simple analytics, without the option being enabled by the bio.link team!

Also, get instant feedback on anything the server sends, including status codes, requests, etc. and the data is persisted for weeks at end in the free tier!
😱 Taking it to the next level: Edit response HTML
We could change the Cloudflare Workers code in order to change the response that is displayed to the end user!
For example, we could use it to our advantage (for educational purposes only, of course) by removing a watermark on a website that requires a premium subscription to remove it.
You could find more info on how to modify response content using Cloudflare Workers on their HTML Rewriter docs
🙈 A few Alternatives
Though I'm not fond of paying for a webpage with such a low view count, I'd still like to highlight some alternatives:
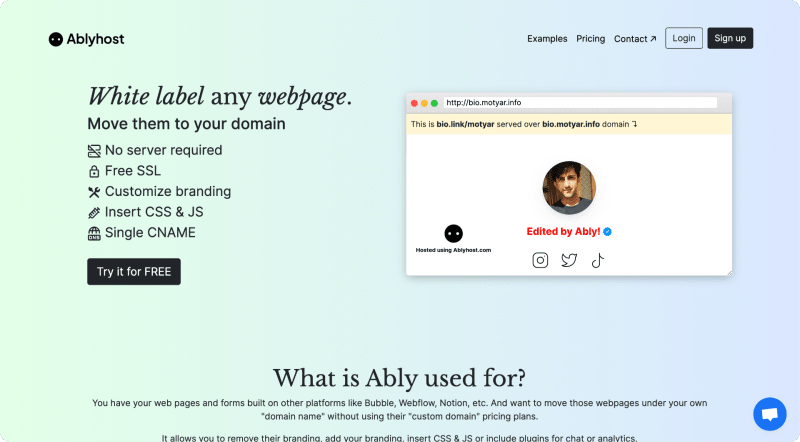
Paid: Ably.host - Host any website on your subdomain within a few minutes (no-code alternative)
Free: Self-hosted Nginx - (If you want to manage everything)
Nginx could be easily used as a reverse proxy, for routing both internal, and external traffic! Learn more
👋 That's it!
Thanks for reading along! Let me know how/what you're using this for, if you've tried to follow along! Till then, see you later...