Creating a headless e-commerce website has become more accessible for developers, thanks to BCMS—an advanced headless CMS designed to streamline workflows. BCMS is an intuitive and modern CMS that offers easy model management capabilities, making it compatible with modern tech stacks like Next.js, Nuxt, and Gatsby. Building NextJS e-commerce site on BCMS provides an ideal solution, and here's why:
Key Features of BCMS
Easy Content Creation and Management: Design without limits. Manage products, categories, and promotions separately from your storefront, allowing for endless customization.
Content Bliss: No more wrestling with complex interfaces. Update product descriptions, images, and more effortlessly with BCMS.
Multiple Platform Support: Reach every corner of the internet with seamless publishing across devices and platforms. Your store expands with your audience.
Localization Support: Break down language barriers and attract customers worldwide. BCMS translates and localizes your products with ease.
Tracking & Analytics: Gain deep insights into customer behavior, track sales performance, and optimize your store for conversion. BCMS empowers you to make informed decisions.
💡 Learn more: Why BCMS is the Best CMS for NextJS: 6 Less Obvious Reasons
NextJS e-commerce: Getting Started
This tutorial will guide you through the process of integrating BCMS with Next.js to build an amazing headless e-commerce website.
Get Ready to:
- Effortlessly set up BCMS and Next.js
- Craft a well-structured data model tailored for e-commerce
- Create compelling product content within BCMS
- Build a visually engaging and performant Next.js frontend
- Deploy your e-commerce to the world
Follow these steps:
Step 1: Setting up BCMS
You have two options when setting up BCMS - You can either host it on the cloud or host it locally (which is free).
Using BCMS in the cloud makes your work easier. It takes care of setting up and maintaining the server and ensures it's always available, so you can focus on building the front end. The API URL stays the same whether you're working on development or production.
If you choose to use it locally or self-hosted, it means you're running the program on your own computer and then putting it on a server, like DigitalOcean, when you're ready. This gives you more flexibility and control over where your website is hosted.
I will utilize BCMS which is hosted locally in this tutorial. If you're interested in exploring how the live version operates, you can sign up on the BCMS website to access it.
First, install the CLI globally on your machine.
npm install @becomes/cms-cli -g
Verify the installation by running.
bcms --help
Create a directory for your bcms instance.
mkdir ecommerce-starter && cd ecommerce-starter
Run the create command to scaffold a copy for BCMS.
bcms --cms create
Run BCMS using the docker.
docker-compose up
If everything is done right, you will be able to access BCMS by going to [http://localhost:8080]
Step 2: Set Up and Build Data Models
Let's simplify the process in this crucial step to leverage BCMS to lay the groundwork for your e-commerce content structure.
BCMS Basic Structures:
- Templates: Define how your content looks, organizing fields like product name, description, price, and image.
- Entries: Capture specific content details within a template, acting as instances or records, similar to blog posts.
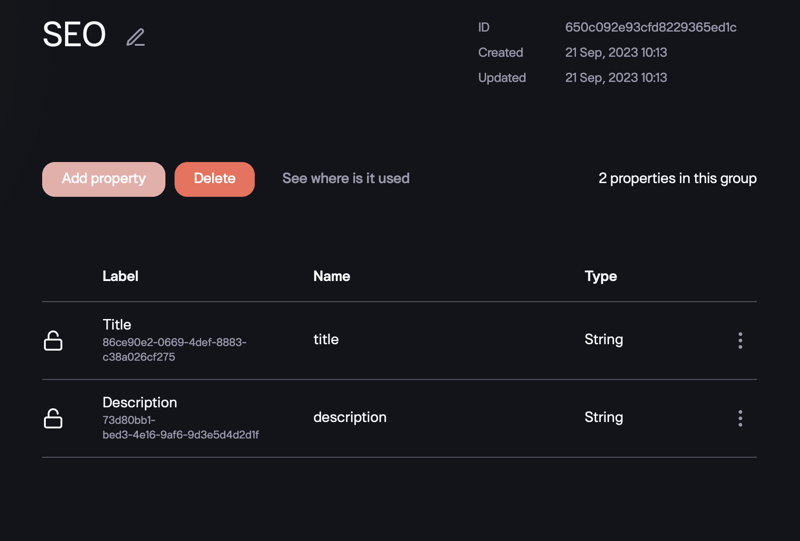
- Groups: Easily organize related properties into cohesive units, useful for defining product specifications.
- Widgets: Enhance your content with dynamic and interactive elements like sliders, galleries, or forms.
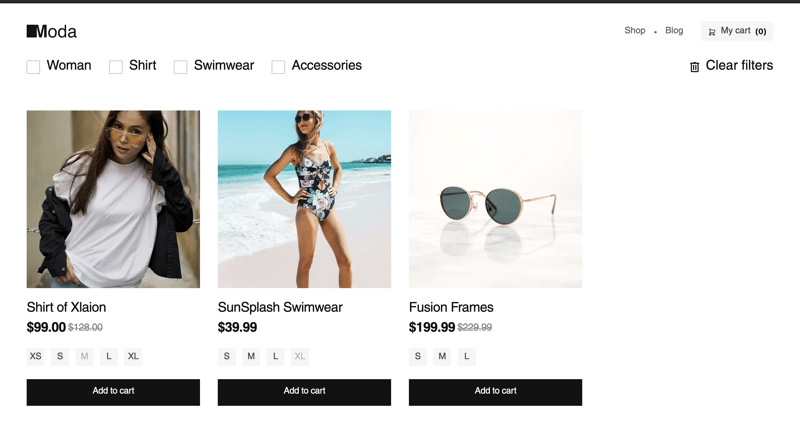
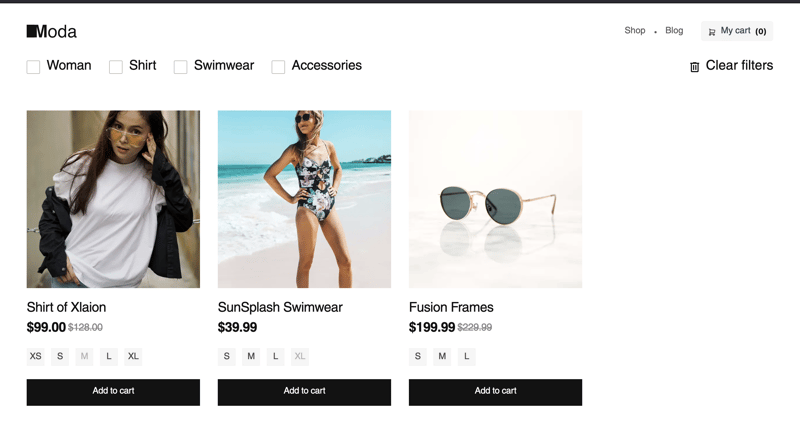
Now, picture the content you want. You're building an online store, considering products, categories, and variations. Take a look at the finished website:
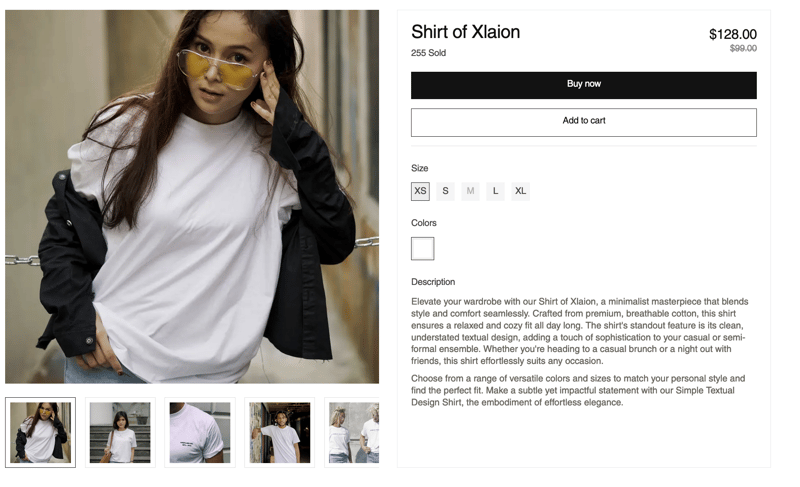
Also, visualize a single product page:
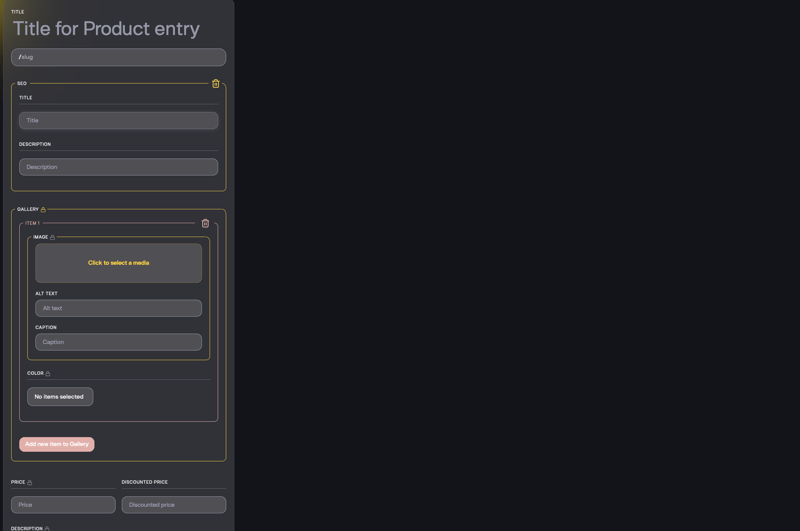
Essential Elements for a Product:
- Title: Text
- Slug: Text
- SEO: Group
- Gallery: Group[ ]
- Price: Number
- Discounted Price: Number
- Description: Rich Text
- Sizes: Group[ ]
Additional Fields for Filtering and Categorization:
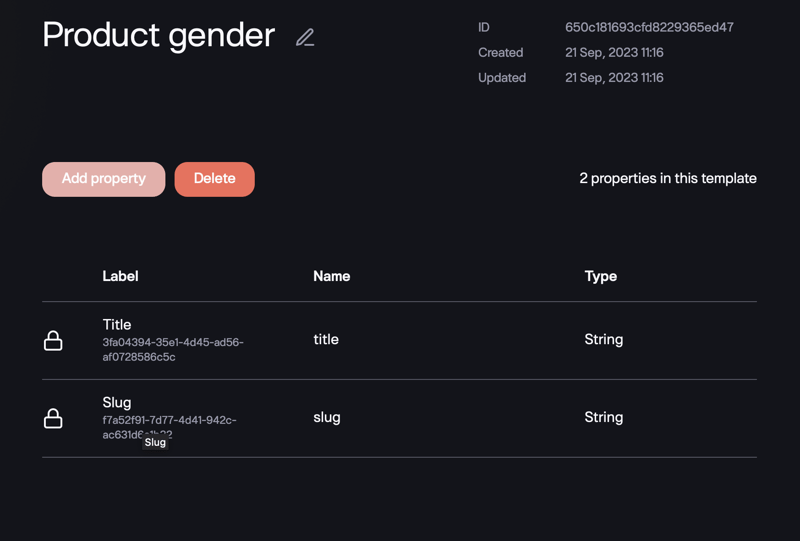
- Gender: Group[ ]
- Category: Group[ ]
- Brand: Group[ ]
- Unit Sold: Group[ ]
Creating Templates
- Go to the left side of the admin dashboard.
- Click on templates and choose "Add new template."
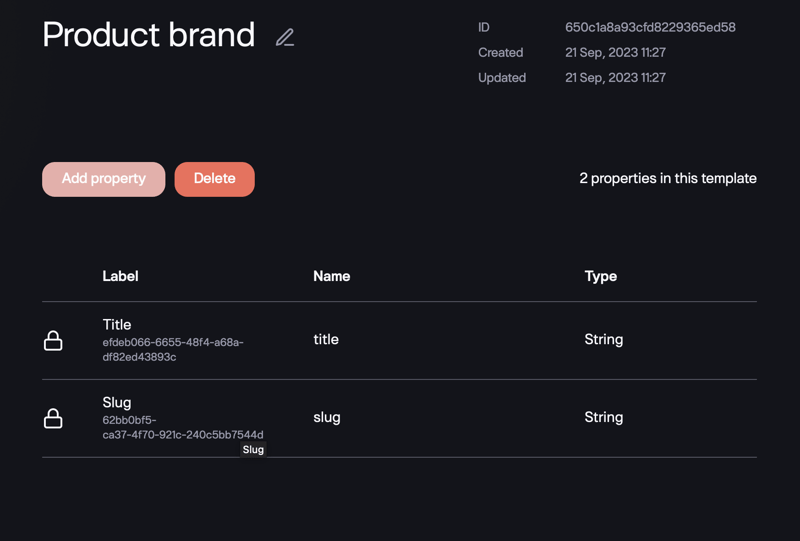
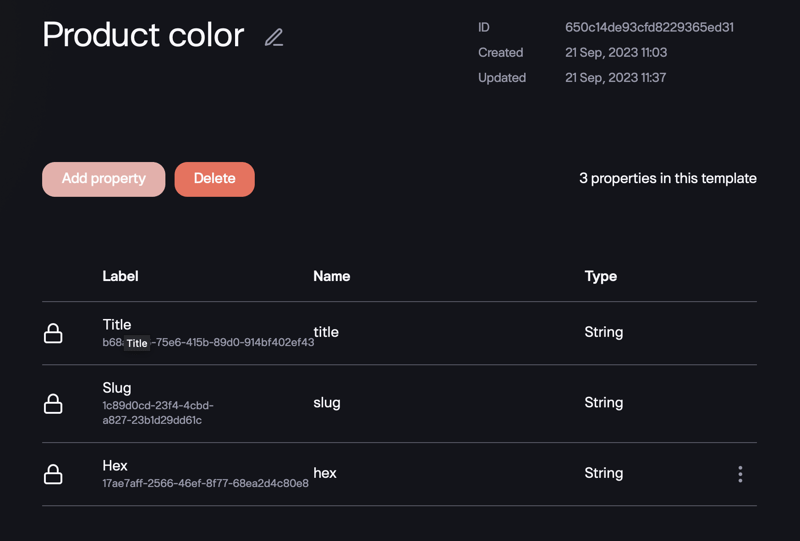
- Important templates include Product Color, Product Size, Product Gender, and Product Brand.
Creating Groups
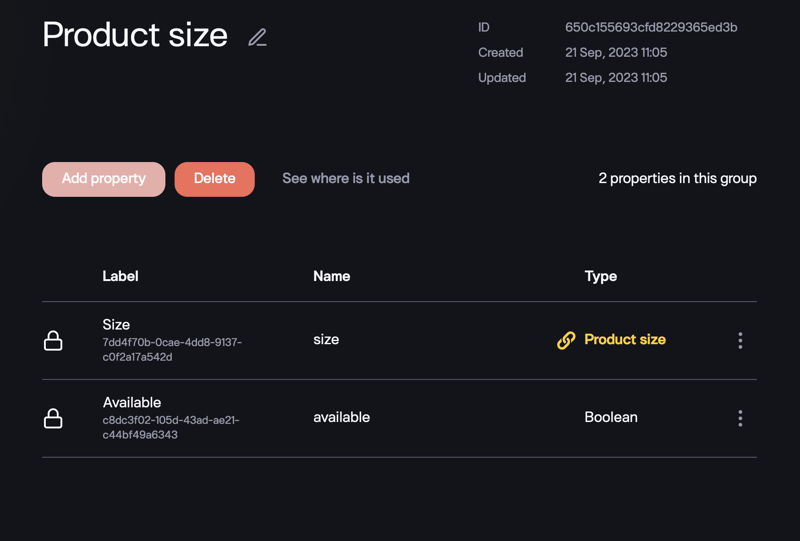
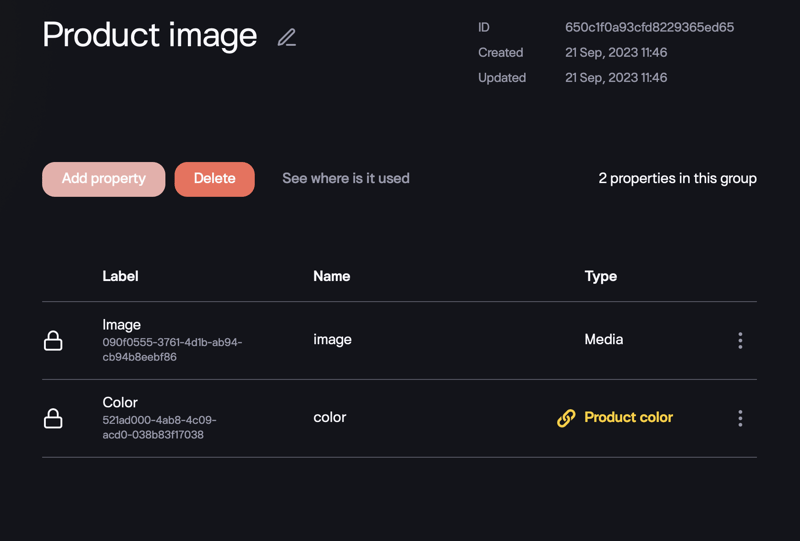
Similarly, create groups for SEO, Product Image, and Product Size from the left panel of the admin dashboard.
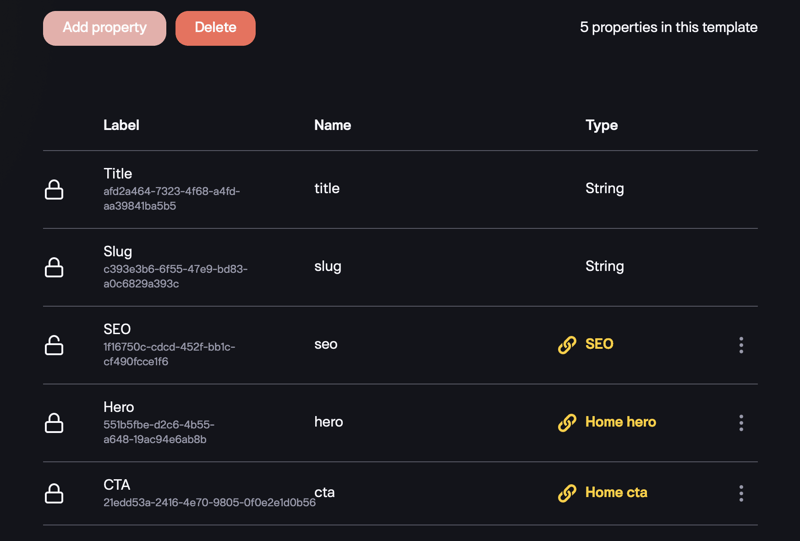
Creating Product and Homepage Templates
Design a product template based on the templates and groups created.
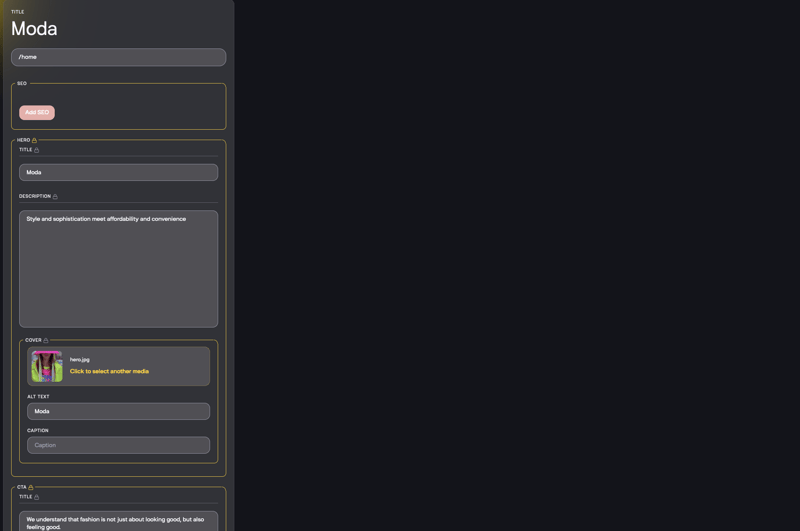
For the homepage, click on "Add new" under templates and configure fields like Hero and CTA for frontend use.
Step 3: Populate Content Based on Your Models
In the previous section, you were introduced to entries. Now, let's dive into creating content by adding entries to your templates.
Adding Entries:
- Navigate to the Entries tab on the left panel of the dashboard, housing all the templates you created.
- To add an entry, select the desired template and commence content input.
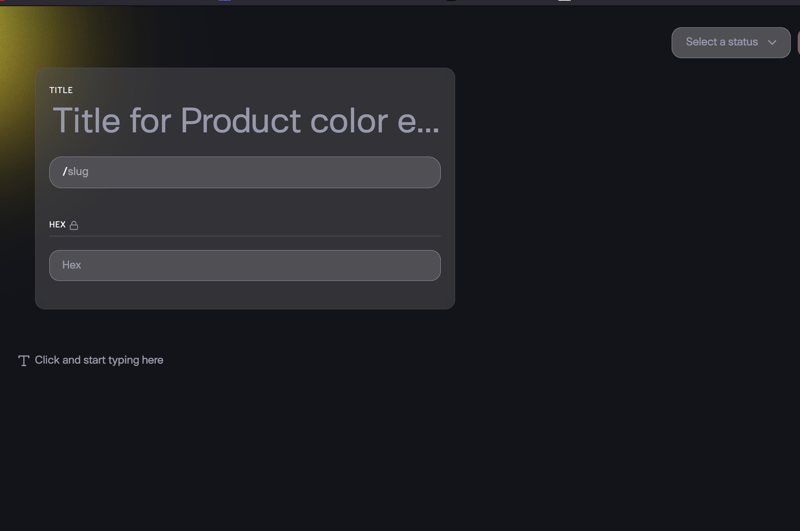
Let's initiate this process with the Product Color template:
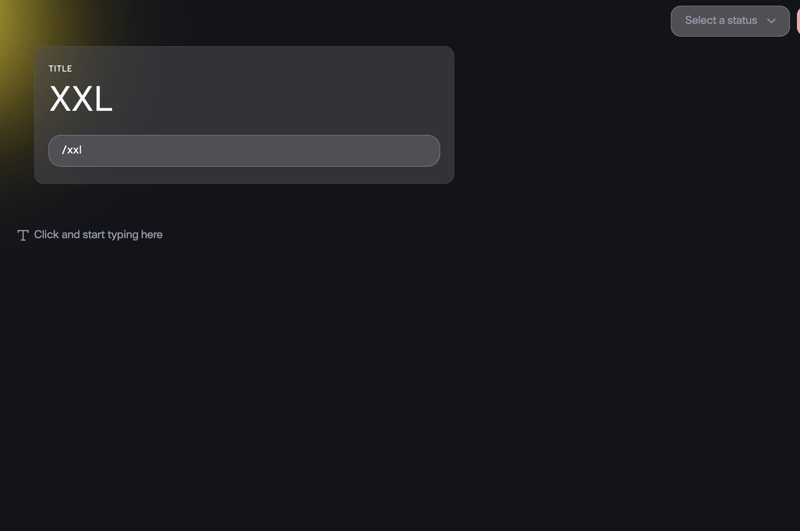
Next, address the product sizes - XXL:
Proceed to create a product entry:
Don't overlook the homepage template:
For a firsthand experience, explore the live e-commerce store here. This walkthrough will provide you with a better understanding of the implemented content structure.
Step 4: Build a NextJS Frontend and Display BCMS Data
Nice work on getting this far! Everything has been straightforward and smooth. Now, let's create a Next.js website and show off the data we've set up.
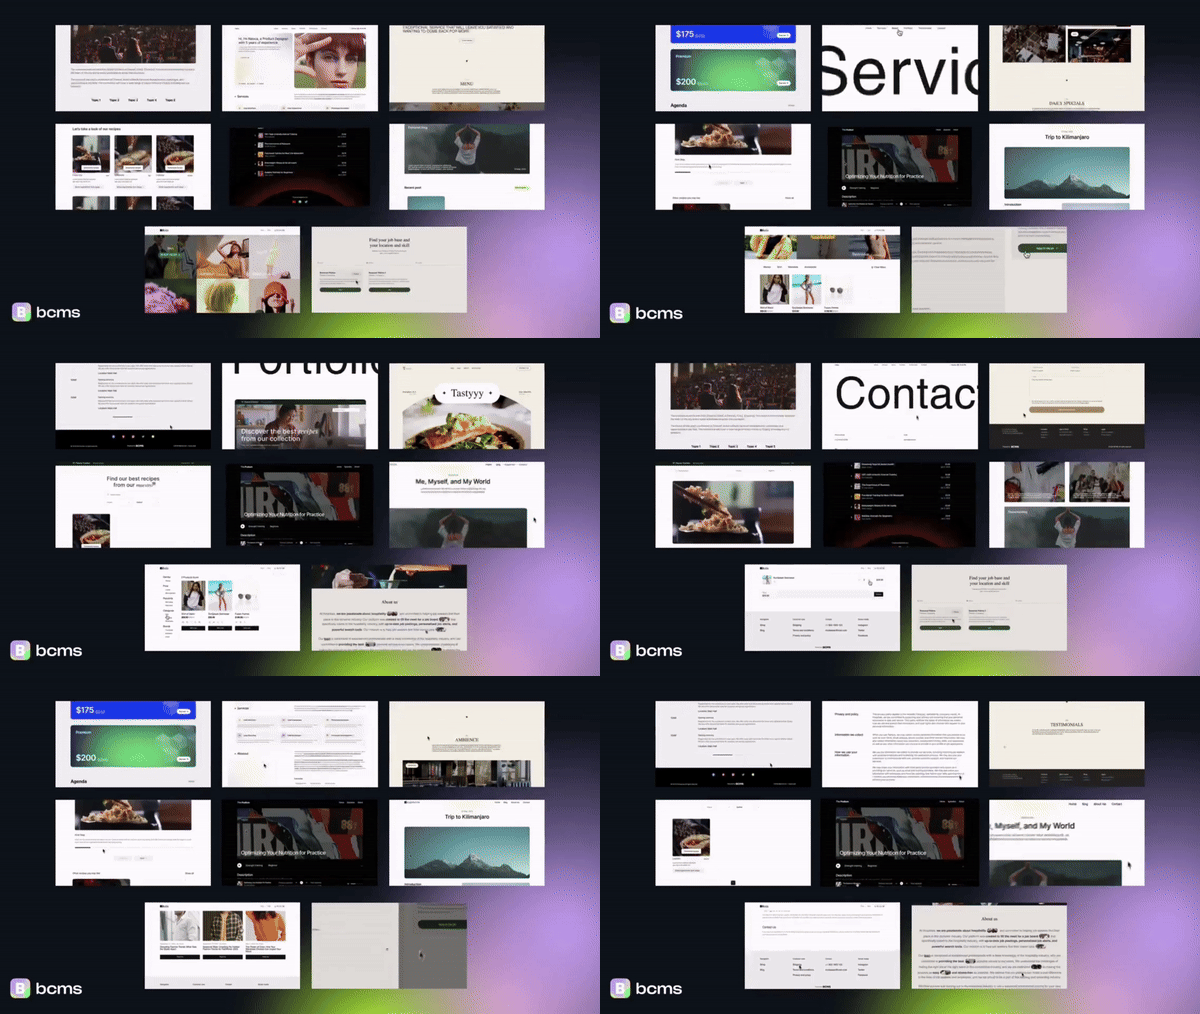
Before the next step, let's talk about something equally important and interesting: The BCMS starters. These are a collection of fantastic websites built just for you, making it easy to set up your frontend without any hassle. There are more than 8 starters, including one for e-commerce. To use them, all you have to do is clone the repository and add your API keys.
Link to starters: BCMS Starters
Link to the Repository: BCMS Starters Repository
NextJS CMS integration is really versatile, BCMS starters show that there are no limits. But honestly, that is just the surface that has only been scratched. Building websites is endless. Check out the BCMS blog article 60 popular websites built with headless CMS for more inspiration.
Create a NextJS e-commerce Project
The BCMS CLI makes it easy to get a Next.js project up and running with default BCMS configurations. Just run the command bcms --website create and follow these prompts:
Project Name: For this tutorial, name it e-commerce(optional and can be left blank).
Choose a Framework: Select Next.
Connection Type: Choose live to connect to a hosted BCMS instance on the cloud or local for a locally hosted project.
Add API Keys
To connect the Next.js frontend to BCMS, add your BCMS API keys. Here's how:
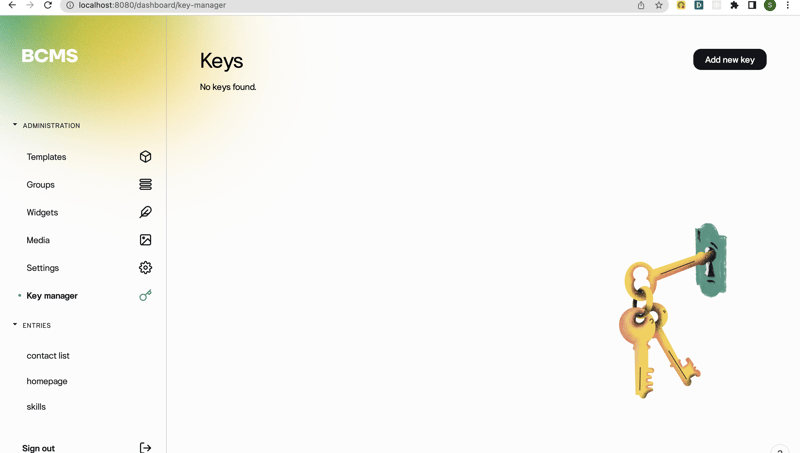
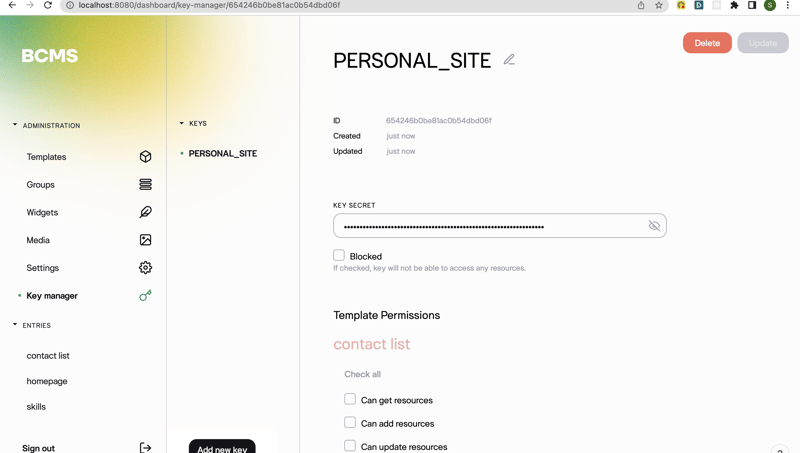
Go to the BCMS dashboard and click on Keys.
Click on "Add New Key."
Copy the Key Secret and the ID, then add them to the Next.js .env file.
Fetching Data
In this tutorial, we will be utilizing the e-commerce starter from BCMS. Feel free to clone the repository here.
First, add the API key to the .env.local file, and then you can begin fetching data to display on the website. Run the development server using npm run dev. The data fetching is done with Next.js methods and the BCMS client, as shown in the code snippet below:
export const getStaticProps = async () => {
  const client = getBcmsClient();

  try {
    // Fetch data for the homepage
    const homePage = (await client.entry.get({
      template: 'home_page',
      entry: 'home',
    })) as HomePageEntry;

    return {
      props: {
        page: {
          meta: homePage.meta.en as HomePageEntryMeta,
        },
      },
    };
  } catch (error) {
    return {
      notFound: true,
    };
  }
};
Now, let's break down what's happening in the code:
The getBcmsClient function serves as a client to interact with the BCMS server. Think of it as similar to the fetch APIor Axios, but specifically tailored for BCMS.
Next.js [getStaticProps](https://nextjs.org/docs/pages/building-your-application/data-fetching/get-static-props) is employed to fetch data for the page during the build process.
With these methods, you can effortlessly fetch any template or page and display the data on the frontend. It's as simple as providing the template ID and the entry name.
To fetch data for a single product on a product page, a slight modification is made in the code:
export const getStaticPaths = async () => {
  const client = getBcmsClient();
  // Fetch all products
  const products = (await client.entry.getAll({
    template: 'product',
  })) as ProductEntry[];

  // Generate slugs for all products
  const paths = products.map((product) => {
    const meta = product.meta.en as ProductEntryMeta;
    return {
      params: {
        slug: meta.slug,
      },
    };
  });

  return {
    paths,
    fallback: false,
  };
};

export const getStaticProps = async (ctx: GetStaticPropsContext) => {
  const client = getBcmsClient();

  try {
    // Fetch data for a single product using the slug
    const productPage = (await client.entry.get({
      template: 'product',
      entry: ctx?.params?.slug as string,
    })) as ProductEntry;

    return {
      props: {
        page: {
          meta: productPage.meta.en as ProductEntryMeta
        },
      },
    };
  } catch (error) {
    return { notFound: true };
  }
};
Here, getStaticPaths is utilized to generate slugs for all products, and then getStaticProps fetches data for a single product using the obtained slug. This enables dynamic rendering of individual product pages based on their slugs.
Step 5: Share Your NextJS E-commerce Store with the World
Now that your online store is ready, the next step is to make it accessible to everyone. This involves two main tasks, depending on how you are using BCMS.
Share Your Store Online
If you are using the cloud version of BCMS, you don't need to worry about this step. The cloud version already takes care of hosting your store. However, if you are using BCMS on your computer, you'll need to put it on the internet. You can do this by using services like Digital Ocean or Heroku. Here's a guide that explains how to do this.
Share Your Website
To share your website with the world, you need to use a service called Vercel. It's a straightforward way to make your website live on the internet. Follow this tutorial to learn how to use Vercel.
Wrapping Up
To sum it up, creating an online store using Next.js and BCMS is simple and powerful. BCMS helps you manage your store's content, while Next.js makes sure your website works well. The website you've created is not just for show – it's a starting point for you to explore what BCMS can do. With BCMS, you can easily adapt your website to different needs and connect it with other tools.
Now it's your turn to try BCMS and see how it can help you create and manage your online store effortlessly. Enjoy the journey of sharing your content with the world!


