
Not long ago I saw in gearbest an Arduino Nano. I already used arduino uno and I love open hardware and gadgets, so I bought one to have some fun. Yesterday it arrived in home and I decided to make hand theremin I can dance and play with. Instead of using the breadboard like in most of my projects, if I wanted to use it in the street comfortably, I would need to weld some parts. First of all, I used:
- Piezo
- Light sensor + 20 KOhm
- Arduino nano
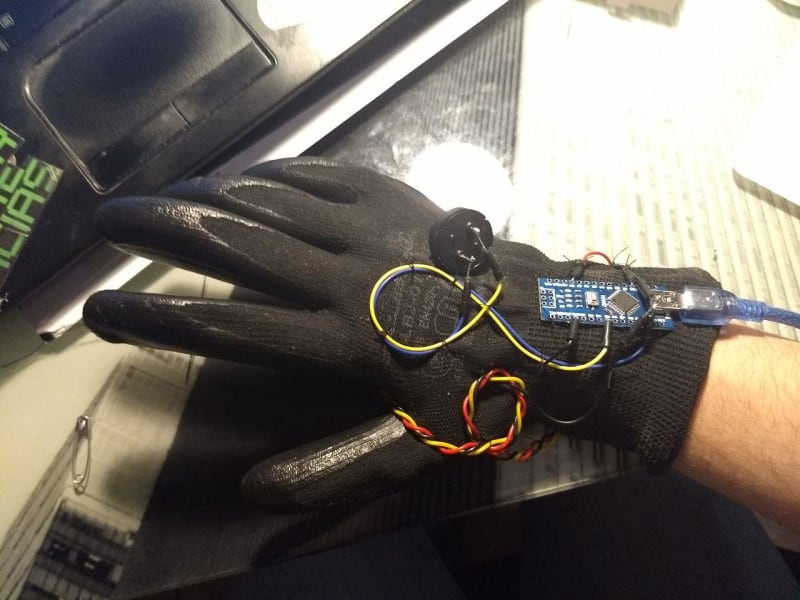
The Piezo needs to connect both to GND and to a digital pin, the light sensor to an analog pin, 5V and Ground. My light sensor is a bq module prepared for wiring, but in my schematics I provide the welding instructions for a normal sensor.
Now, the code has to be uploaded with the arduino IDE, using C. Mine is:
//sensor value and its limits
int sensorValue;
int sensorLow = 1023;
int sensorHigh = 0;

//for connection checking, no need to put the led in the actual circuit
const int ledPin= 13;

void setup() {
  pinMode(ledPin, OUTPUT);
  digitalWrite(ledPin, HIGH);
  while (millis() < 5000) {
    sensorValue = analogRead(A0);
          if (sensorValue > sensorHigh) {
                    sensorHigh = sensorValue;
          }
          if (sensorValue < sensorLow) {
                    sensorLow = sensorValue;
          }
  }//end of while.
  digitalWrite(ledPin, LOW);
 }

void loop() {
  sensorValue = analogRead(A0);

  int pitch = map(sensorValue, sensorLow, sensorHigh, 50, 4000);
  // I connected the piezo in digital 5
  tone(5,pitch,20);
  delay(10);

}
This is the wiring and other relevant instructions:

For the power supply I recommend using a power bank attached to the arm. Now go and have fun!


