Getting that website fired up online, is not that hard. In this article we will discuss on how you can have you site hosted for free using InfinityFree.
Infinity Free has some cool features which you can enjoy using, and in my opinion it is among the best hosting platforms you can get for free.
So lets get into the process of hosting a website there.
1. Create an Account or Log In into your account
Creating an account there is simple and straight forward as shown below:

2. Create a Hosting Account

Here you now create an account with the name of the website you want to host, not your details and you do that by clicking on the Create Account button.
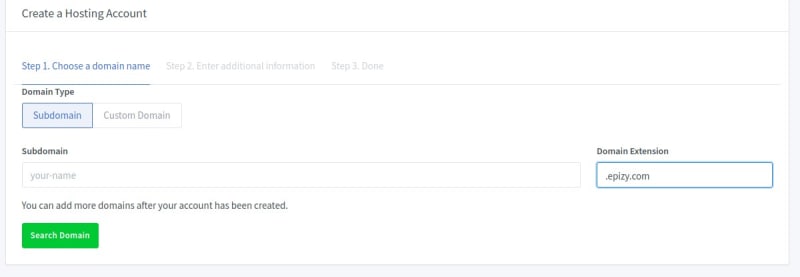
3. Create a Custom Domain or a Subdomain provided by InfinityFree
Here if you have your custom domain, you can enter it and chage your nameservers in your domain providers to point to InfinityFree, if you have a difficult time doing this, check this this article out.
For custom domain you'll click on the custom domain tab, then enter your domain name and click on search Domain.

For subdomainns provided by infinityfree, click on the subdomain tab and enter your preffered subdomain name.
4. Manage your account
After a successful creation of your subdomain or domain, your account will show up with a button to manage it. Click on the manage button.
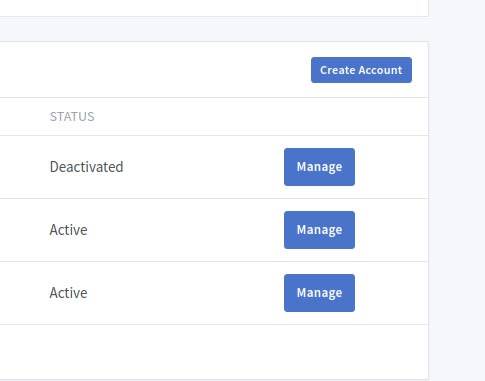
Mine shows three acounts, it's because I have three accounts, yours will show one.
5. Upload your Files
Another window will open and a screen like this will open:

Click on File manager and you will see a window like this, Now get into htdocs and upload your files there.
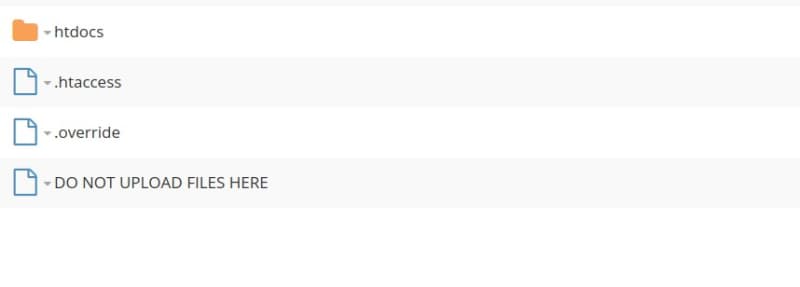
Your uploaded files should appear here.

6. Creating Your Database
This is the most crucial part, Some get stuck here.

Click on Control Panel and it will open another tab

Now Click on MySQL Databases which will open another window as shown below

Enter your database name and click on create database.

Your database will now appear in the current Databases. Click on Admin button and another tab will open as shown below and from there you can start creating your tables or click on the import tab and import your already created database.

7. Changing your PHP connectionn file configuration
Now we need to change our database name and password to match the ones in our account. We can find the details in our account dashboard. If you had a config file where you had specified your connecrtion details, you'll only change that, but if you were calling your database credentials in each file, you will have to change them in all of them or aternatively create a new file and save your connection credentials there and include the file in each other page which will require the connection.
To find your database credentials, go tour panel and click on Account Settings

In Account Settings You will find your details there:

That's all you had, If you are having any difficulty feel free to leave a comment and I will reply as soon as I can.
See you soon. happy coding