Let's face it, packaging your kivy application for android can be pretty rough. First you create the app, then you install buildozer only to realize that python-for-android doesn't even run on windows! Now you're looking into installing a virtual Linux distribution. If you already use Linux, well lucky you, but if not, you are probably pounding your keyboard in frustration.
Is there a better way to do it? The answer is yes. In this article I'm going to show you how to package an application for android using Google Colab.
First thing's first, let's code up our application. I assume you already have kivy and kivymd installed in a virtual environment.
Create two files:
- main.py
- main.kv
Inside main.py, add the following code:
from kivymd.app import MDApp
from kivymd.uix.list import OneLineIconListItem, IconLeftWidget

class MainApp(MDApp):
    def build(self):
        self.theme_cls.primary_palette = "Purple"

    def add_item(self, text):
        new_list_item = OneLineIconListItem(text=text)
        new_list_item.add_widget(
            IconLeftWidget(icon = "language-python")
            )
        self.root.ids.listcontainer.add_widget(new_list_item)
        self.root.ids.listinput.text = ''


if __name__ == "__main__":
    app = MainApp()
    app.run()
Inside main.kv add the following lines:
MDBoxLayout:
    orientation: 'vertical'
    id: box
    MDTopAppBar:
        title: 'SampleApp'
        pos_hint: {'top': 1}

    MDTextField:
        id: listinput
        hint_text: 'Add Item'
        mode: 'rectangle'
        size_hint_x: .9
        pos_hint: {'center_x': .5}
        text_validate_unfocus: False
        on_text_validate: app.add_item(listinput.text)

    ScrollView:
        MDList:
            id: listcontainer
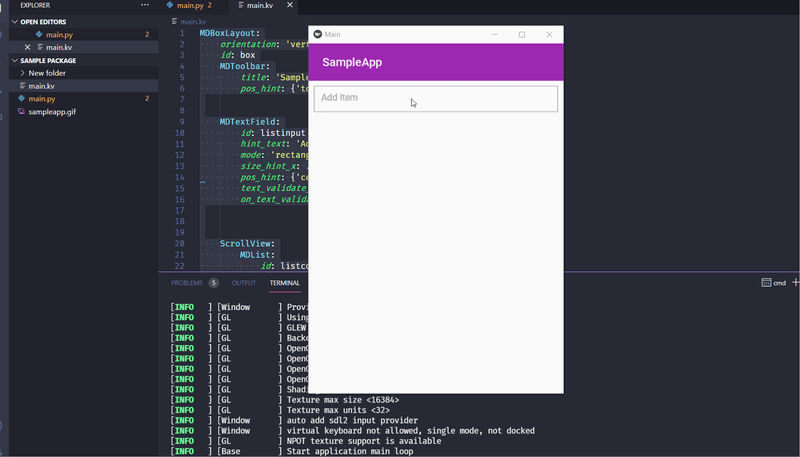
This is a simple application that gets text from the user and creates a list item and adds it to the list.
When we run our application, it looks like this:
Now for packaging!📦
Open google colab on your web browser and create a new notebook or you can use my notebook.
Now create a cell and run the following lines:
!sudo apt update
!sudo apt install -y git zip unzip openjdk-17-jdk python3-pip autoconf libtool pkg-config zlib1g-dev libncurses5-dev libncursesw5-dev libtinfo5 cmake libffi-dev libssl-dev
!pip3 install --user --upgrade Cython==0.29.33 virtualenv
Luckily for you, the developers of kivymd decided to make the process easier so we can install buildozer dependencies in one fell swoop. Create a cell in your notebook and add the following lines and execute:
# git clone, for working on buildozer
!git clone https://github.com/kivy/buildozer
%cd buildozer
!python setup.py build
!pip install -e .
%cd ..
And now, everything is ready for the packaging process.
Upload your files to colab by clicking on the files icon and then right clicking and clicking upload.(Uuuh what?😫)
After the files have been uploaded, run the following command:
!buildozer init
This will create a file named buildozer.spec. Double click the file to edit it. You can change the application name and the package name. I changed mine as follows:

Next, scroll down to the requirements and change them as follows:
requirements = python3, kivy==2.1.0, kivymd==1.1.1, sdl2_ttf==2.0.15, pillow

Note: If your application requires special permissions such as internet or storage, scroll down to
android.permissions:
Uncomment the android.permissions line and add the permissions. For a full list of all the available permissions, check out this link.
Now to package our application. Run the following command:
!buildozer -v android debug
This process can take up to 20 minutes so you might need a little bit of patience. In the mean time you could skip to the bonus section below or watch an episode of my hero academia(I won't judge😉).
After successful execution, the apk file is saved in the bin folder:

Download the apk, transfer it over to your android device and install it!
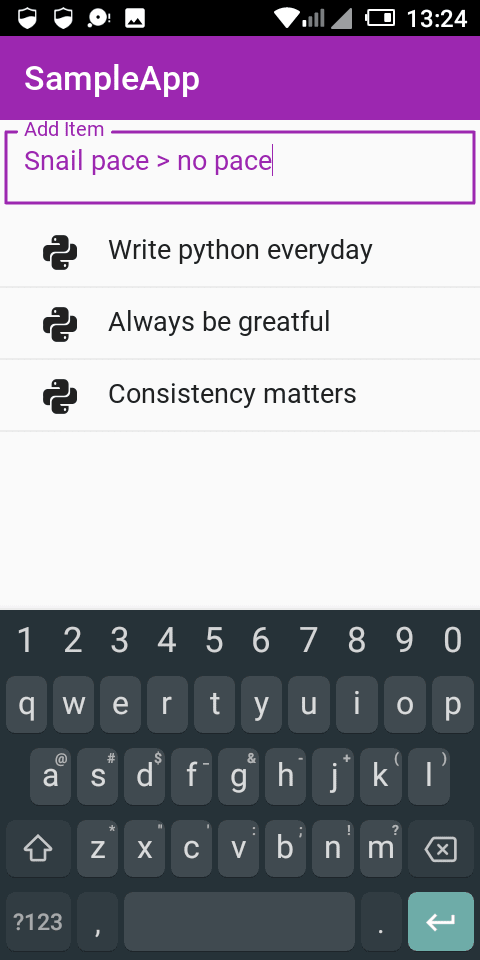
The application works!👏
Full Code is available HERE.
Bonus section(Not really)
Debugging our application.
Packaging applications this way is faster than having to go through installing all the requirements on your PC but this does have a draw back. How do you debug the application? Imagine successfully installing the application and trying to run it only for it to crash. How do you know what the problem is? You can't run buildozer -v android deploy run logcat which displays the logs so that you can search through them to identify errors. You can't do that on colab but you can if you're on Linux(perhaps your should just switch to linux😁).
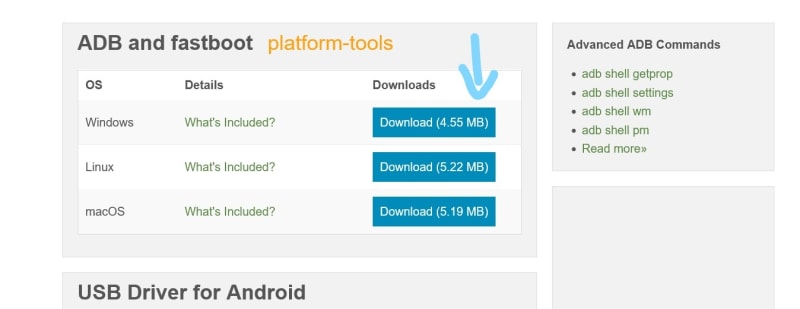
This is where adb comes in. Android Debug Bridge (adb) is a versatile command-line tool that lets you communicate with a device. You can get more information about it here but for now, we are going to be making use of adb platform tools. Download them here.
This will download a zipped file. Unzip it then copy the apk that we just made and paste it inside the unzipped folder. The selected item is the apk file in the image below:

Connect your device, make sure usb debugging is enabled. Now open a command prompt terminal and navigate to the folder containing the adb files we extracted:

Run adb install name-of-the-app.apk
This will install the application on your device! You can open the application and try it out. To view the application log, run the following command in the terminal:
adb logcat
Now you can see the application log. If any error occurs while running the application, you'll probably find the details in the log, but be warned, it can be like looking for a needle in a haystack!
If you want to learn more about adb and it's commands check out this link.
And that just about wraps it up. I hope you found this article helpful. If you're facing any challenges don't hesitate to reach out in the comments section.