Projects should be fun, entertaining and educating. In the past year, my projects were in two areas: DevOps with Ansible, Nomad and Kubernetes. Web Application Development with HTML, CSS and JavaScript frameworks. For some time, another interesting area has been on my mind: Robots. It’s amazing what other enthusiast created, its inspiring to watch a self-made, wheeled robot with a laser sensor to drive around and explore its surroundings.
This article originally appeared at my blog.
Motivation for a Self-Made Robot
In this year, I want to build a pickup&deliver robot that helps me in maintaining my home, specifically my terrace. The robot’s features are scanning the environment moving around, identifying objects, picking objects and dropping them at a designated area. The robot should be autonomous, which means to actively map its surroundings, orient and move itself, while following its goals and actively deciding the best approach and order in which to resolve its tasks.
From this description, it is obvious that the project combines different aspects of robotics: Assembling a robot with a chassis, motors and sensors. Enable the robot to access variable sensor data. Provide the robot with the abilities to move and to fetch items. And finally, to program the robot to follow goals and decide the best approach to achieve them.
Therefore, the "build a robot" goal can be broken down into distinct subprojects. Each subproject ideally results in a robot prototype that fulfils its current feature goals. By combining the subprojects, I should have a robot with the all of the described features. For me, the journey is the goal. I fully expect that some subprojects might take a long time to finish, with several "try & fail" cycles until I have the necessary knowledge and skills. This journey will be interesting indeed.
Subprojects
The overall robot project will be divided in the following subprojects.
1. Essentials: Software & Hardware
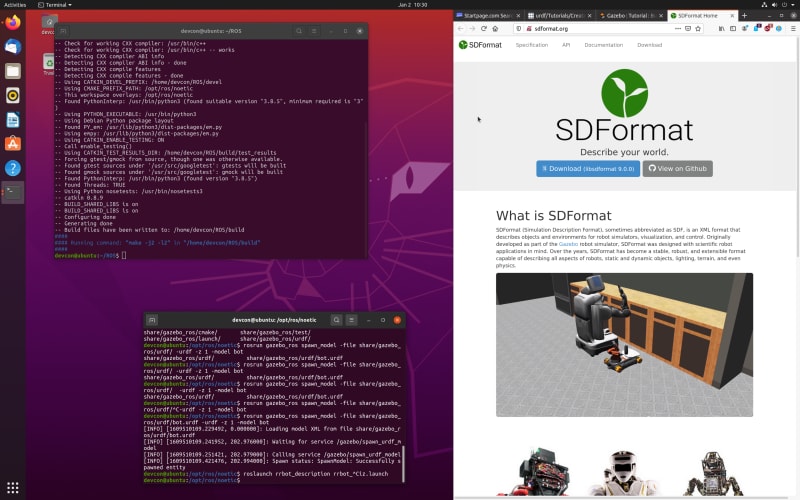
The first project investigates the state of the art in programming a robot. It should answer questions like which frameworks for building robots exist? Can these frameworks support different computer hardware (e.g. Arduino or Raspberry Pi), or do they require proprietary hardware? Also, what are the main concepts of programming a robot, including a model of its own, accessing sensor data, movement and more?
Similarly, I will investigate the hardware side: What are the components of a robot? What tools do you need to assemble a robot? Which options for movement exists? What kind of sensors are available, and which of these are useful? How much do the components and sensor cost? Are they interoperable, or do you need to explicitly buy hardware from one brand?
After this project phase, I should understand the landscape of robots programming and know the required hardware for designing the robot. Then I can start to assemble and build the robot feature by feature.
2. Moving Robot
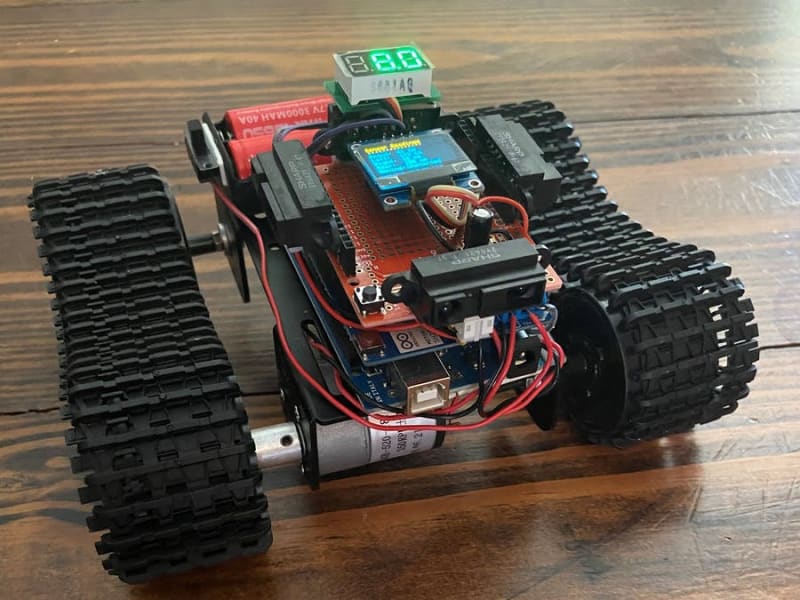
In this phase I'm going to order all the required robot parts - chassis, motors, motion system, sensors - and design a workbench at home with all necessary assembly tools. Then I will build the robot step by step, and learn how to control it.

Source: https://create.arduino.cc/projecthub/MyPartsChest/autonomous-arduino-mega-track-robot-10699d
Controlling the robot is a fascinating area in itself. The simplest approach is to send terminal commands to the robot which is interpreted for simple. More sophisticated is to use a remote device, for example and IR, to send continuous data to the robot.
With this phase, I will start something very new. I have no experience with assembling electronic parts at all. So, I also anticipate that this phase can last way longer than expected. And to see and resolve a lot of errors.
3: Simulation
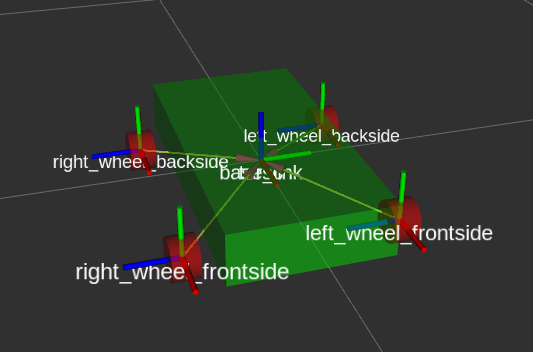
In the third phase, I will investigate how to simulate a robot. Using the first moving prototype, and considering the selected software framework, I will create a simulation of the robot, including its shape, sensors, and movement type. The simulation is a tool to gain first-hand knowledge in Robotics software, which is a higher abstraction and enables indirect controlling by specifying a target direction. The simulation should be refined into a state where I'm sure that the robot can move and investigate its environment.
4: Visual Sensors
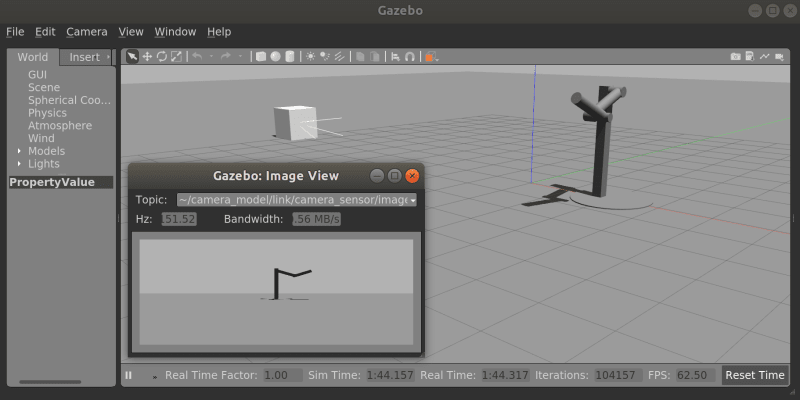
When the first prototype is functional and it can be simulated, then the next phase will be to assemble and connect visual sensors. These sensors can be lasers, providing a point cloud of the surroundings, ultrasonic distance sensors, or cameras that stream video. Ideally, I pick a sensor or a combination of sensors that allow me to navigate in the environment and detect/tag individual objects.

Source: https://gazebosim.org/tutorials?tut=lockstep_physics_sensors&cat=sensors
Given these sensors, the robot should recognize obstacles during movement.
5. Self-Navigation
The next evolution should create a self-navigating robot. Given a representation of its surroundings, and a goal in some distance, the robot should plan and execute a path to reach the goal. Objects should be detected in real-time and should lead to an instant correction of the path the robot takes.
6: Pickup & Deliver
When the robot moves autonomous, the final stage is to provide the means for picking up items and to deliver/place them at its goals.
First, I need to go back to the simulator and design a robot arm in the widest sense of the word (shovel, pliers, crane or even fingers). Using the simulator, I will confirm that this arm can pick, hold and release items. Once the simulation works as intended, I will order the required hardware components and assemble the robot. Then its testing time: Instructing the robot to pick up items and deliver them to a target place. This stage completes the project.
Conclusion
This blog post outlined how I envision my robot project. The first part is about leaning the required software stack to operate a robot and understanding the required hardware components. With this knowledge, I select the concrete software and hardware to continue with building a simulation of the robot. When the simulation is complete, when the virtual robot can move in its surroundings, I continue with the concrete assembly of a physical robot. I will test this prototype to behave exactly as in the simulation, and make required adjustment. When I'm happy with these results, the robot will be assembled in separate phases, each targeting different goals: directed movement, visual mapping of its surroundings, autonomous movements, pickup&deliver.
This project is a huge endeavour for me, since I have no experience with electronics and assembling at all. I'm prepared to spend way more time in the project phases because of obstacles or sheer fascination about a specific aspect of the robot. The journey is the path - let's start!


