Proper team etiquette will assist your team to achieve seamless collaboration and productivity. These rules are often gained with experience as most developers who are starting to grasp challenging new concepts do not prioritize proper Git etiquette. Even though these rules might not seem essential at first, they are immensely helpful during debugging, merging code, and managing pull requests.
This post aims to help you maximize your team’s use of Git by discussing etiquette pointers that will support you when creating branches and commits, as well as handling unnecessary, private, or large files. In addition, we will look at the different commands we can use to amend common mistakes that could hurt your workflow and team collaboration.
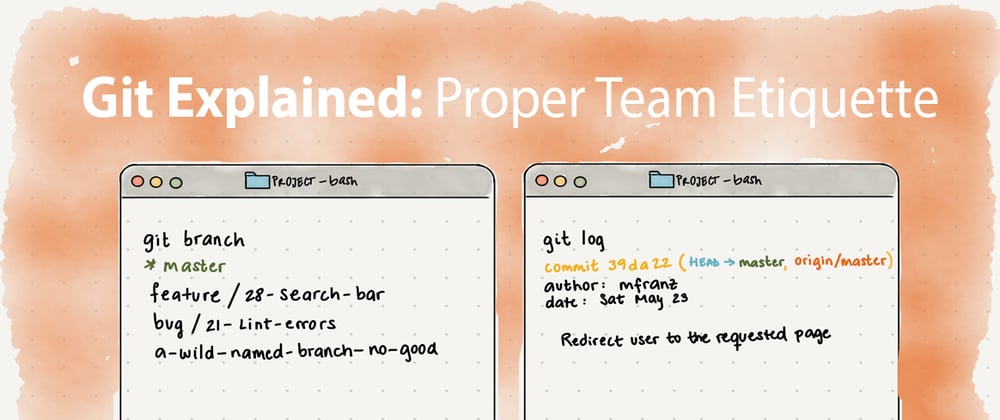
Branches
A repository always has a main branch called origin/master, which reflects the production-ready state or already deployed code, and developers branch and merge from it. During the implementation of a project, many supporting branches will be created. These branches should have a specific purpose, a limited life time, and a descriptive name. Here are some guidelines to create effective branches:
Create a branch per issue. You will have to create a merge request at some point in order to get your supporting branch merged into master. Merge requests are a great opportunity for feedback that will help you grow. Overly long merge requests get procrastinated or simply not reviewed in detail. In other words, you would miss out on getting feedback from your team that would help you grow.
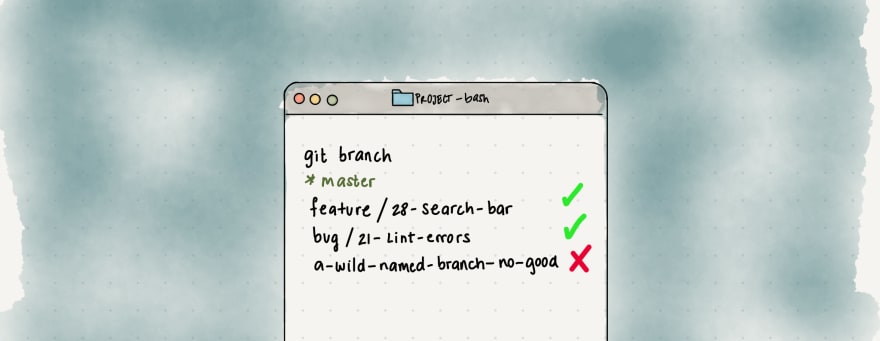
Use a token at the beginning of your branch name. Tokens are groups agreed by your team that quickly communicate in which part of your workflow each branch belongs. Some popular tokens are feature/ or feature- and bug/ or bug-.
Note: The use of
/in your naming convention might break your CI/CD pipeline if using Jenkins or other third-party tools. Make sure you talk to your team before choosing a token name convention.
This convention also allows you to list them by group:
git branch --list “feature/*”
Include issue number. This comes handy when your issues are not automatically linked to your branches. For instance, my team is currently using JIRA to track issues and Gitlab as our Git repository hosting service. It is really nice to be able to glance at a branch and know which issue it belongs to.
Use a descriptive and short name. Do your best to select short and well-defined names that communicate the task’s purpose clearly.
A well-thought-out branch name example for a new feature that adds a search bar under ticket #28 would be the following:
feature/28-search-bar
If you are reading this post and suddenly realized your branches are not following any of these rules… don’t panic! Let’s take a look at how you can rename your branches locally and remotely:
To rename your local branch:
# if HEAD is in the branch you want to change
git branch -m [new-name]

# if HEAD is in another branch
git branch -m [old-name] [new-name]
To rename a remote branch:
# Rename your local branch (step above)

# Delete your old remote branch
git push --delete remote branch-name

# Or use this shortcut
git push origin :[old-name]

# Push your new-name branch to remote
git push origin [new-name]

# Reset the upstream branch for the new-name local branch
git push origin -u [new-name]
Clean unused and already merged branches. When you create a merge request, make sure you select the merging option that deletes your branch after merging. Moreover, make sure you exercise good housekeeping by deleting unused branches locally and remotely.
To prune all stale referenced remote branches:
git fetch --prune --all
To delete a branch locally:
# safely - Git prevents you from deleting it if it hasn’t been merged
git branch -d [branch-name]

# force delete
git branch -D [branch-name]
To delete a branch remotely:
git push origin :[old-name]
Commits
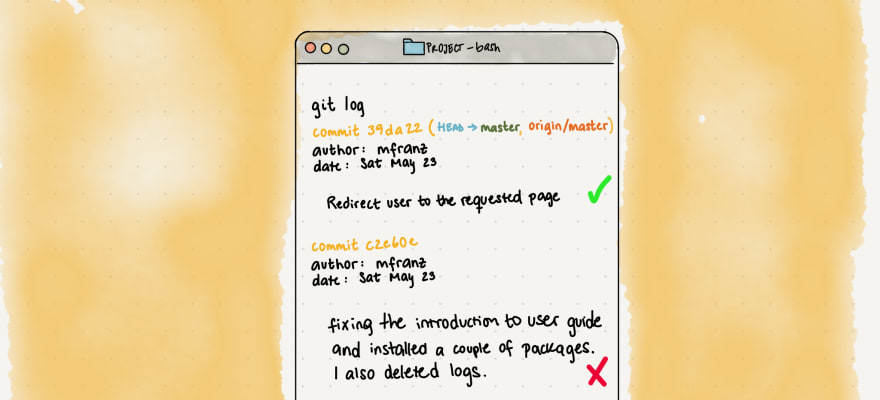
Good commit messages matter because they allow you to explain the changes you have made and why when you look back in history or when a team member is reviewing your merge request. Here are some guidelines to compose precise commit messages:
A commit should consist of a single logical change. This one can be hard, especially since it’s very tempting to commit all changes in one commit after several were made. Here is a flag that could help you out:
git add --patch
It will go through all the changes you made, one change at a time, and ask you if you want to commit that specific change.
Keep it short. No more than 50 characters please. If you are modifying or refactoring already existing code, give a short explanation of why you made that change. Not sure what to include in your commit message? Use the following command to see a list of changes in between your working tree:
git diff
Start with a capital letter. And keep it consistent.
No punctuation at the end. It's not necessary.
Start the sentence with a verb. Your commit message should complete the following sentence:
“This commit will…[commit-message]”
Good examples:
“Redirect user to the requested page after login”
“Fix typo in introduction to the user tools”
Are you not happy with your last commit? Use the following command to change it:
git commit --amend -m “New message”
You can also use this command if you want to make a change to your previous commit but want to leave your message intact. For instance, sometimes I forget to remove a log message and I don’t want to create another commit just for that.
git add changed/file.ts
git commit --amend --no-edit
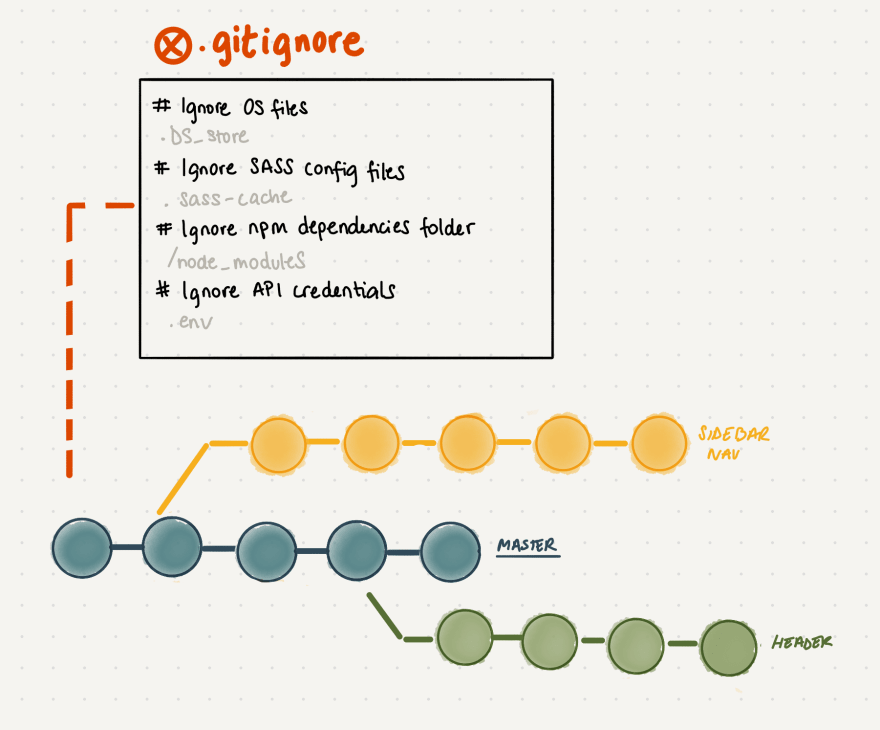
Ignore files
Files that are not required by your project should not be tracked by Git. Understanding what to ignore is beneficial because it will help you keep an unclutter and secure project for you and your team members. Here is a list of common type of files to ignore:
- Operating system files
- Language and framework files
- File downloaded with package managers
- Usernames and passwords
- Debugging logs
Add a local .gitignore file to the root of your project with the following command:
touch .gitignore
Include any file or folder that you would like Git to ignore on each line. Here are some examples:
# Ignore operating system files
.DS_store

# Ignore SASS config files
.sass-cache

# Ignore npm dependencies folder
/node_modules

# Ignore API credentials
.env

# Ignore all logs
*.log
Note: A DEV community member recommended gitignore.io to generate a .gitignore file in one step. This tool allows you to enter Operating Systems, IDEs, Programming Language, or Frameworks and it generates a useful .gitignore file for your project! They also have documentation to help you access their API using your command line.
Did you already commit a file you meant to ignore? It happens to the best of us! Let’s take a look at how to fix it:
First you need to remove the file from your repository. The following command will get Git to stop tracking [file-name], however, the file won’t be deleted from your working system.
git rm --cached [file-name]
Then add it to your .gitignore file and commit this change.
# Ignore [file-name]
[file-name]
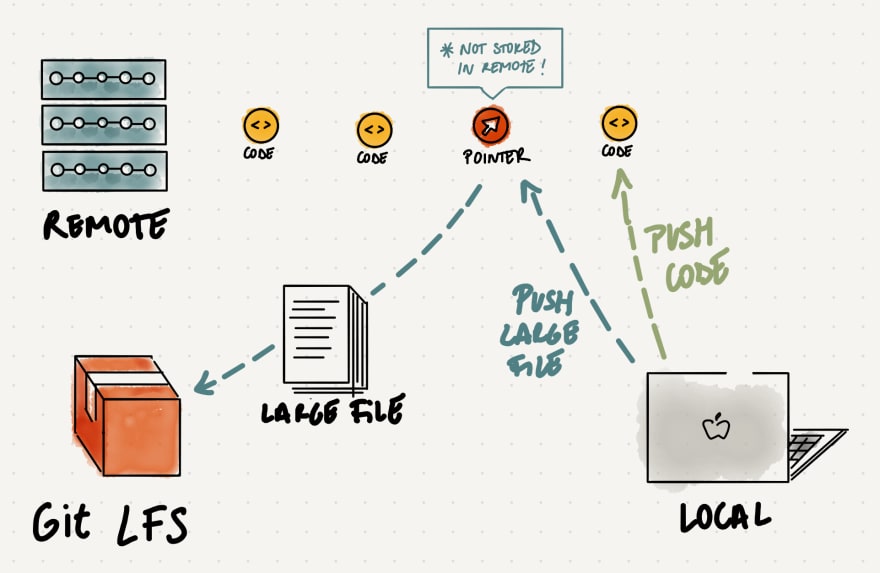
Handle large files
Uploading large files to Git is uncommon, however, you could be faced in a situation where you might want to share some large data files with your team members. This could be a problem as cloning, fetching or pulling from a repository that stores large files takes a long time as every version of each large file is downloaded. Don’t cause your team members a headache by doing this, instead share big files through Git LFS (Large File Storage), an open source Git extension. This tool is useful because it replaces large files in your repository with small pointer files. Here are some instructions to use this tool:
-
Download and install Git LFS
git lfs install -
Track your large files
git lfs track “files/*.csv”
This command will create or update a file called .gitattributes, which binds tracked file patterns. You will need to commit this file to your repository.
Notes:
- To stop tracking a file with Git LFS, remove it from the
.gitattributesfile. - Cloning and pulling from a Git LFS is the same as using a normal repository.
These are some of the Git guidelines I’ve learned through working with different people in different projects. Everybody has different preferences, however it is important to choose a consistent set of Git rules when collaborating with a team so everybody is on the same page. Let me know in the comments if you have another rule you recommend!
Checkout my previous posts:
Git Explained: The Basics
Git Explained: In-depth Comparison
I explore, define, and explain Git concepts every Saturday!


