Azure Pipelines is a great tool for doing Continuous Integration and Continuous Deployment and thanks to Multi Stage Pipelines we can finally have build, test, and release directly expressed in source code.
Recently they have also introduced the concept of "Environments", which belongs to the release process.
The question is: why should I use an environment to deploy my application?
Let's answer that together.
Video
If you are a visual learner or simply prefer to watch and listen instead of reading, here you have the video with the whole explanation, which to be fair is much more complete than this post.
If you rather prefer reading, well... let's just continue :)
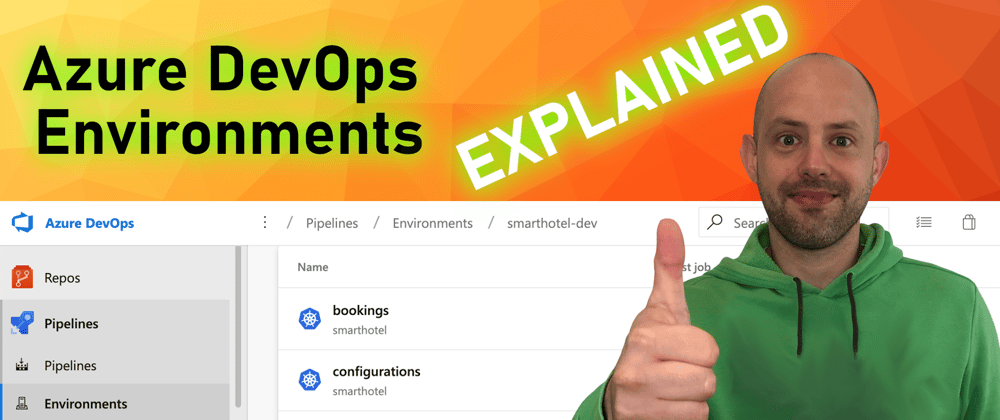
Environments
Environments basically represent a group of resources for a Pipeline, and allow you to map your organization physical or virtual environments like “development”, “staging”, “production”, etc, into Azure DevOps.
And while environment at its core is a grouping of resources, the resources themselves represent actual deployment targets.
At the time of writing, there are 2 types of resources you can use in Environments: Kubernetes clusters and Virtual Machines. Other resource types, like Azure WebApp, Databases, etc are coming soon.
Using an environment unlocks all kinds of capabilities, like:
- Traceability of commits and work items
- Deployment history down to the individual resource
- Deeper diagnostics
- Approvals, and checks
Additionally, when you target an Environment from your Azure Pipeline, you don't have to specify any Service Connection or credentials in the YAML files because they are automatically inherited from the Environment itself.
Approvals
Environments are also the way Multistage YAML Pipelines handle Approvals. If you are familiar with the Classic Pipelines, you know that you can set up pre- and post-deployment approvals directly from the designer.
With YAML Pipelines, the way to do that is in the Environments. Approvals and other checks are not defined in the YAML file to avoid that users modifying the pipeline YAML file could modify also checks and approvals.
Take a look at my video here to see how to use them.
Security
Let's now talk a minute about security.
There are two concepts here: User Permissions and Pipeline Permissions
With user permissions, you can control who can create, view, use, and manage the environments. There are four roles - Creator (scope: all environments), Reader, User, and Administrator.
If you create an environment within a YAML, contributors and project administrators will be granted Administrator role. This is typically used in provisioning Dev/Test environments.
If you create an environment through the UI, only the creator will be granted the Administrator role. You should use the UI to create protected environments like for example a production environment.
Pipeline permissions, instead, can be used to authorize all or selected pipelines for deployment to the environment.
Examples
Take a look at my video on YoutTube here to see how to create, manage, and secure the Environments in Azure DevOps.
It contains also examples on how to use them in real Pipelines, especially for Approvals and Checks
Like, share and follow me 🚀 for more content:
📽 YouTube
☕ Buy me a coffee
💖 Patreon
🌐 CoderDave.io Website
👕 Merch
👦🏻 Facebook page
🐱💻 GitHub
👲🏻 Twitter
👴🏻 LinkedIn
🔉 Podcast


