Jetpack Compose provides a wide range of tools and components to build engaging UIs, and one of the lesser-known gems in Compose is the RenderEffect.
We'll explore RenderEffect by creating some cool examples with a rendering effect.
What is RenderEffect?
RenderEffect allows you to apply visual effects to your UI components. These effects can include blurs, custom shaders, or any other visual transformations you can imagine. However, it's available for API 31 and above.
Table of Contents
- The BlurContainer
- Applying Render Effect to Parent Container
- Applying the Rendering Effect
- ExtendedFabRenderEffect
- Smooth Animation
- Combining Effects
- ButtonComponent Anatomy
- TextRenderEffect
- Animating the Text
- Complete Integration with ShaderContainer
- ImageRenderEffect
- Dynamic Image Transitions
- Crafting Engaging Effects
- Seamless Integration with ShaderContainer
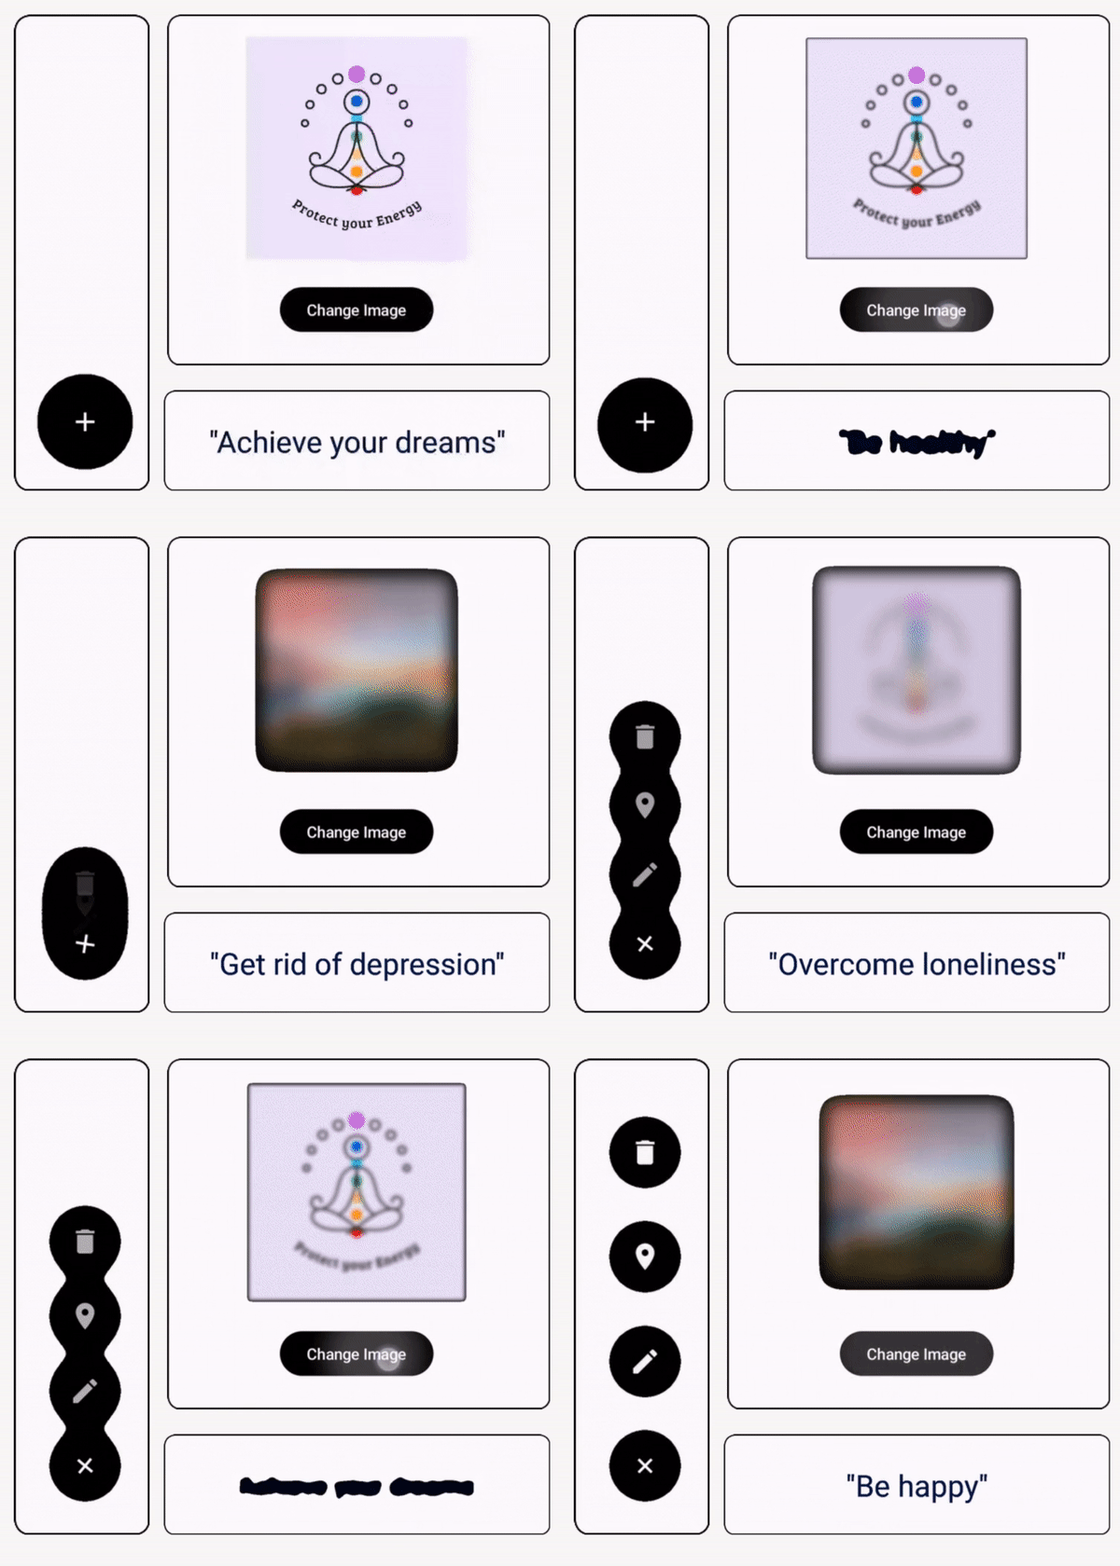
In this tutorial, we have used RenderEffect to create a blur and shader effect for our expandable floating button and some bonus components.
Let's have a look at what we’re going to implement…
You’ll going to understand the ShaderContainer, BlurContainer, ShaderSource, and thecustomer modifier, you have the tools to create stunning rendering effects in your Jetpack Compose applications.
These elements provide a foundation for exploring and experimenting with various visual effects and custom shaders, opening up a world of creative possibilities for your UI designs.
Whether you're a seasoned developer or just starting your mobile app journey, these techniques can make a world of difference.
If you're eager to dive deeper into the code and unlock the full potential of render effects, be sure to check out our detailed guide by visiting Canopas Blog.
It's your gateway to creating mobile experiences that truly stand out.
Follow Canopas for our latest technical blog posts!


