
Today we will learn how to deploy our simple api on the elastic bean stalk service on AWS.
Prerequisite
Register on Aws Guide here
Git installed download
EB CLI installed Installation Guide here
Check if eb cli and git cli is installed on your machine, run:


Setup
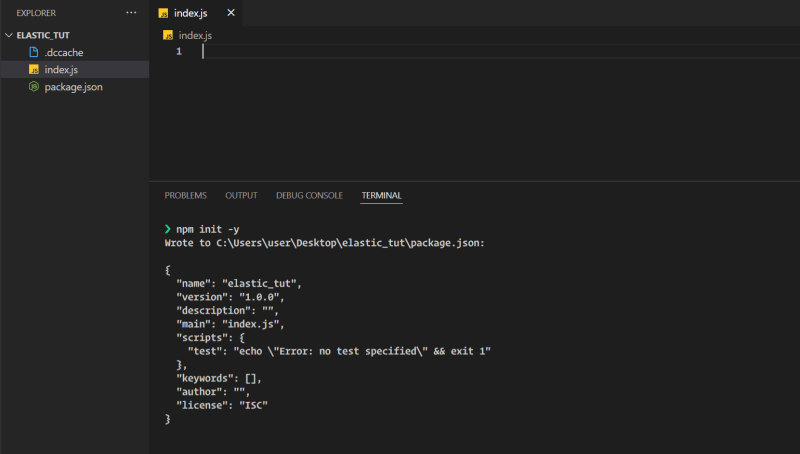
npm init -y to initialize your app.
Click here for a simple express starter hello world app.
Install express package and dump this code in your index.js file
const express = require('express')
const app = express()
const port = process.env.PORT|| 3000;

app.get('/', (req, res) => {
  res.send('Hello World!')
})

app.listen(port, () => {
  console.log(`Example app listening on port ${port}`)
})
Let's write a start script to run our server in package.json

Create a .gitignore file and add this:
node_modules/
.gitignore
.elasticbeanstalk/
Git setup on our project
- git init
- git add .
- git commit -m "initial commit"

Deploy on elastic beanstalk AWS instance
Let's look at how we can initialize our AWS instance.
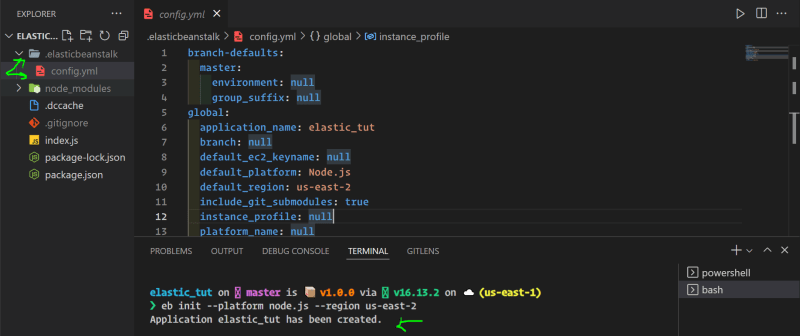
Run eb init with flags
eb init --platform node.js --region us-east-2
The above command creates the .elasticbeanstalk folder
.ebextension
After initializing your Eb, create a folder .ebextensions and a file nodecommands.config
We put our start command in the nodecommands.config
option_settings:
    aws:elasticbeanstalk:container:nodejs:
        NodeCommand: "npm start"

Create the application environment (Deployment)
eb create [environment-name]
The is the name of your application, in this example I usedelasticbeanhence the command is [eb create elasticbean]
- with flags run: eb create --sample [your project folder name]
Note: avoid the use of _ when naming your project folders


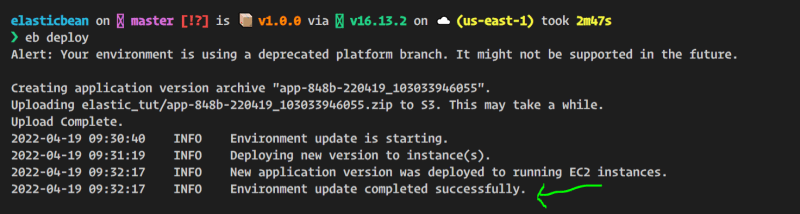
Deploy your application
eb deploy
To open your eb app
eb open

more commands
eb logs
eb --help
eb setenv [VAR_NAME=VALUE] note: do not include the square brackets
To delete eb init project
Go to the directory of your project (the directory where you originally ran the "eb init" command). Delete the . elasticbeanstalk directory. You can now run "eb init" again, and it will prompt you for your configuration information.
Conclusion
I hope this guide was helpful. Thanks for reading


