Welcome to Day 5 of #30DaysOfServerless!
Yesterday we looked at Azure Functions from the perspective of a Java developer. Today, we'll do a similar walkthrough from the perspective of a JavaScript developer.
And, we'll use this to explore another popular usage scenario for Azure Functions: building a serverless HTTP API using JavaScript.
Ready? Let's go.
What We'll Cover
- Developer Guidance
- Create Azure Function with CLI
- Calling an external API
- Azure Samples & Scenarios for JS
- Exercise: Support searching
- Resources: For self-study!
About The Author
Aaron Powell is a Principal Cloud Advocate on the JavaScript team at Microsoft. He is a frequent public speaker and active contributor in many open-source communities. Find him @slace or follow him right here on dev.to!
Developer Guidance
If you're a JavaScript developer new to serverless on Azure, start by exploring the Azure Functions JavaScript Developers Guide. It covers:
- Quickstarts for Node.js - using Visual Code, CLI or Azure Portal
- Guidance on hosting options and performance considerations
- Azure Functions bindings and (code samples) for JavaScript
- Scenario examples - integrations with other Azure Services
Node.js 18 Support
Azure Functions support for Node.js 18 entered Public Preview on Aug 31, 2022 and is supported by the Azure Functions v.4.x runtime!
As we continue to explore how we can use Azure Functions, today we're going to look at using JavaScript to create one, and we're going to be using the newly released Node.js 18 support for Azure Functions to make the most out of the platform.
Ensure you have Node.js 18 and Azure Functions v4.x versions installed, along with a text editor (I'll use VS Code in this post), and a terminal, then we're ready to go.
Scenario: Calling The GitHub API
The application we're going to be building today will use the GitHub API to return a random commit message, so that we don't need to come up with one ourselves! After all, naming things can be really hard! 🤣
Creating the Azure Function
To create our Azure Function, we're going to use the Azure Functions CLI, which we can install using npm:
npm install --global azure-function-core-tools
Once that's installed, we can use the new func command to initalise our project:
func init --worker-runtime node --language javascript
When running func init we can either provide the worker-runtime and language as arguments, or use the menu system that the tool will provide us. For brevity's stake, I've used the arguments here, specifying that we want node as the runtime and javascript as the language, but you could change that to typescript if you'd prefer to use TypeScript.
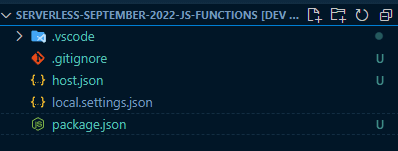
Once the init command is completed, you should have a .vscode folder, and the files .gitignore, host.json, local.settings.json, and package.json.
Adding a HTTP Trigger
We have an empty Functions app so far, what we need to do next is create a Function that it will run, and we're going to make a HTTP Trigger Function, which is a Function that responds to HTTP requests. We'll use the func new command to create that:
func new --template "HTTP Trigger" --name "get-commit-message"
When this completes, we'll have a folder for the Function, using the name we provided, that contains the filesfunction.json and index.js. Let's open the function.json to understand it a little bit:
{ "bindings": [{ "authLevel": "function", "type": "httpTrigger", "direction": "in", "name": "req", "methods": [ "get", "post"] }, { "type": "http", "direction": "out", "name": "res" } ]}
This file is used to tell Functions about the Function that we've created and what it does, so it knows to handle the appropriate events. We have a bindings node which contains the event bindings for our Azure Function. The first binding is using the type httpTrigger, which indicates that it'll be executed, or triggered, by a HTTP event, and the methods indicates that it's listening to both GET and POST (you can change this for the right HTTP methods that you want to support). The HTTP request information will be bound to a property in the Functions context called req, so we can access query strings, the request body, etc.
The other binding we have has the direction of out, meaning that it's something that the Function will return to the called, and since this is a HTTP API, the type is http, indicating that we'll return a HTTP response, and that response will be on a property called res that we add to the Functions context.
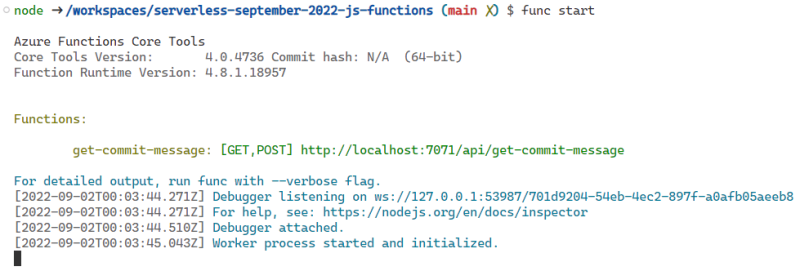
Let's go ahead and start the Function and call it:
func start
With the Function started, access the endpoint http://localhost:7071/api/get-commit-message via a browser or using cURL:
curl http://localhost:7071/api/get-commit-message\?name\=ServerlessSeptember
🎉 CONGRATULATIONS
You created and ran a JavaScript function app locally!
Calling an external API
It's time to update the Function to do what we want to do - call the GitHub Search API and get some commit messages. The endpoint that we'll be calling is https://api.github.com/search/commits?q=language:javascript.
Note: The GitHub API is rate limited and this sample will call it unauthenticated, so be aware of that in your own testing.
To call this API, we'll leverage the newly released fetch support in Node 18 and async/await, to make for a very clean Function.
Open up the index.js file, and delete the contents of the existing Function, so we have a empty one:
module.exports = async function (context, req) {}
The default template uses CommonJS, but you can use ES Modules with Azure Functions if you prefer.
Now we'll use fetch to call the API, and unpack the JSON response:
module.exports = async function (context, req) { const res = await fetch("https://api.github.com/search/commits?q=language:javascript"); const json = await res.json(); const messages = json.items.map(item => item.commit.message); context.res = { body: { messages } };}
To send a response to the client, we're setting the context.res property, where res is the name of the output binding in our function.json, and giving it a body that contains the commit messages.
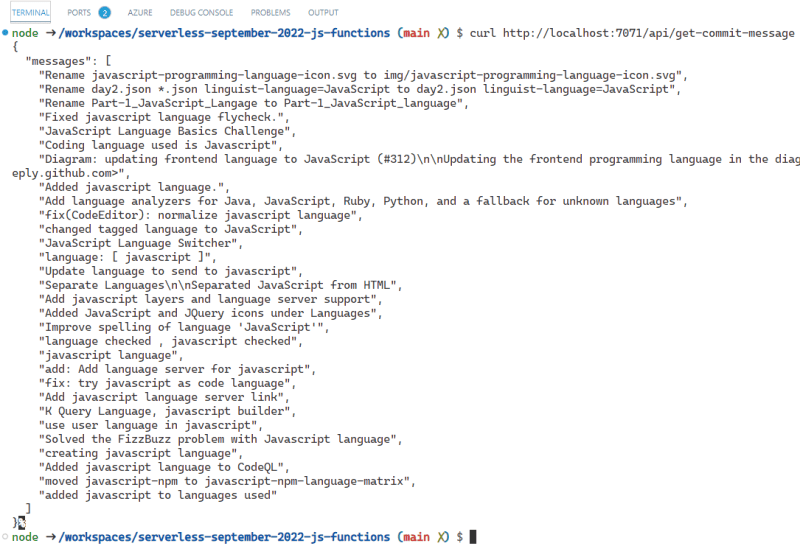
Run func start again, and call the endpoint:
curl http://localhost:7071/api/get-commit-message
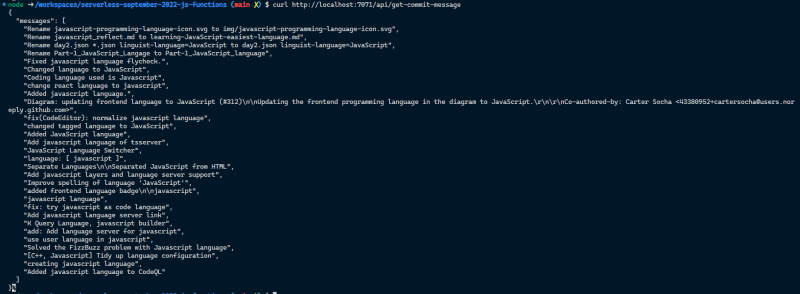
The you'll get some commit messages:
🎉 CONGRATULATIONS
There we go, we've created an Azure Function which is used as a proxy to another API, that we call (using nativefetchin Node.js 18) and from which we return a subset of the JSON payload.
Next Steps
Other Triggers, Bindings
This article focused on using the HTTPTrigger and relevant bindings, to build a serverless API using Azure Functions. How can you explore other supported bindings, with code samples to illustrate usage?
- Start with the Bindings documentation to get a list of supported triggers/bindings for JavaScript
- Explore the Azure serverless community library and Azure Samples resources by technology.
Scenarios with Integrations
Once you've tried out the samples, try building an end-to-end scenario by using these triggers to integrate seamlessly with other services. Here are some suggestions:
- Azure Queue storage trigger and bindings
- Show GitHub start count with Azure SignalR service
- Deploy a GraphQL API as an Azure Function
Exercise: Support searching
The GitHub Serach API allows you to provide search parameters via the q query string. In this sample, we hard-coded it to be language:javascript, but as a follow-on exercise, expand the Function to allow the caller to provide the search terms as a query string to the Azure Function, which is passed to the GitHub Search API. Hint - have a look at the req argument.


